
When sunshine streams through my kitchen window, it’s hard not to feel inspired to add a dash of color to my culinary creations. That’s exactly how these No-Bake Rainbow Cheesecake Bars came to be—a delightful burst of fun and flavor that transforms any occasion into a celebration! With each layer reflecting the vibrant hues of a rainbow, these bars are not just a feast for the eyes, but a yearning embrace for the taste buds.
Picture the tantalizing blend of creamy cheesecake and the familiar crunch of Golden Oreos—so easy to whip together that you won’t break a sweat. Forget the oven; this dessert is a breeze, requiring only a bit of chilling time to set. Each slice offers a fluffy texture that dances on your palate, making it a crowd-pleaser at parties or a cheerful treat for a cozy night in. So grab your sprinkles, and let’s dive into this colorful culinary adventure that promises to brighten up any dessert table!
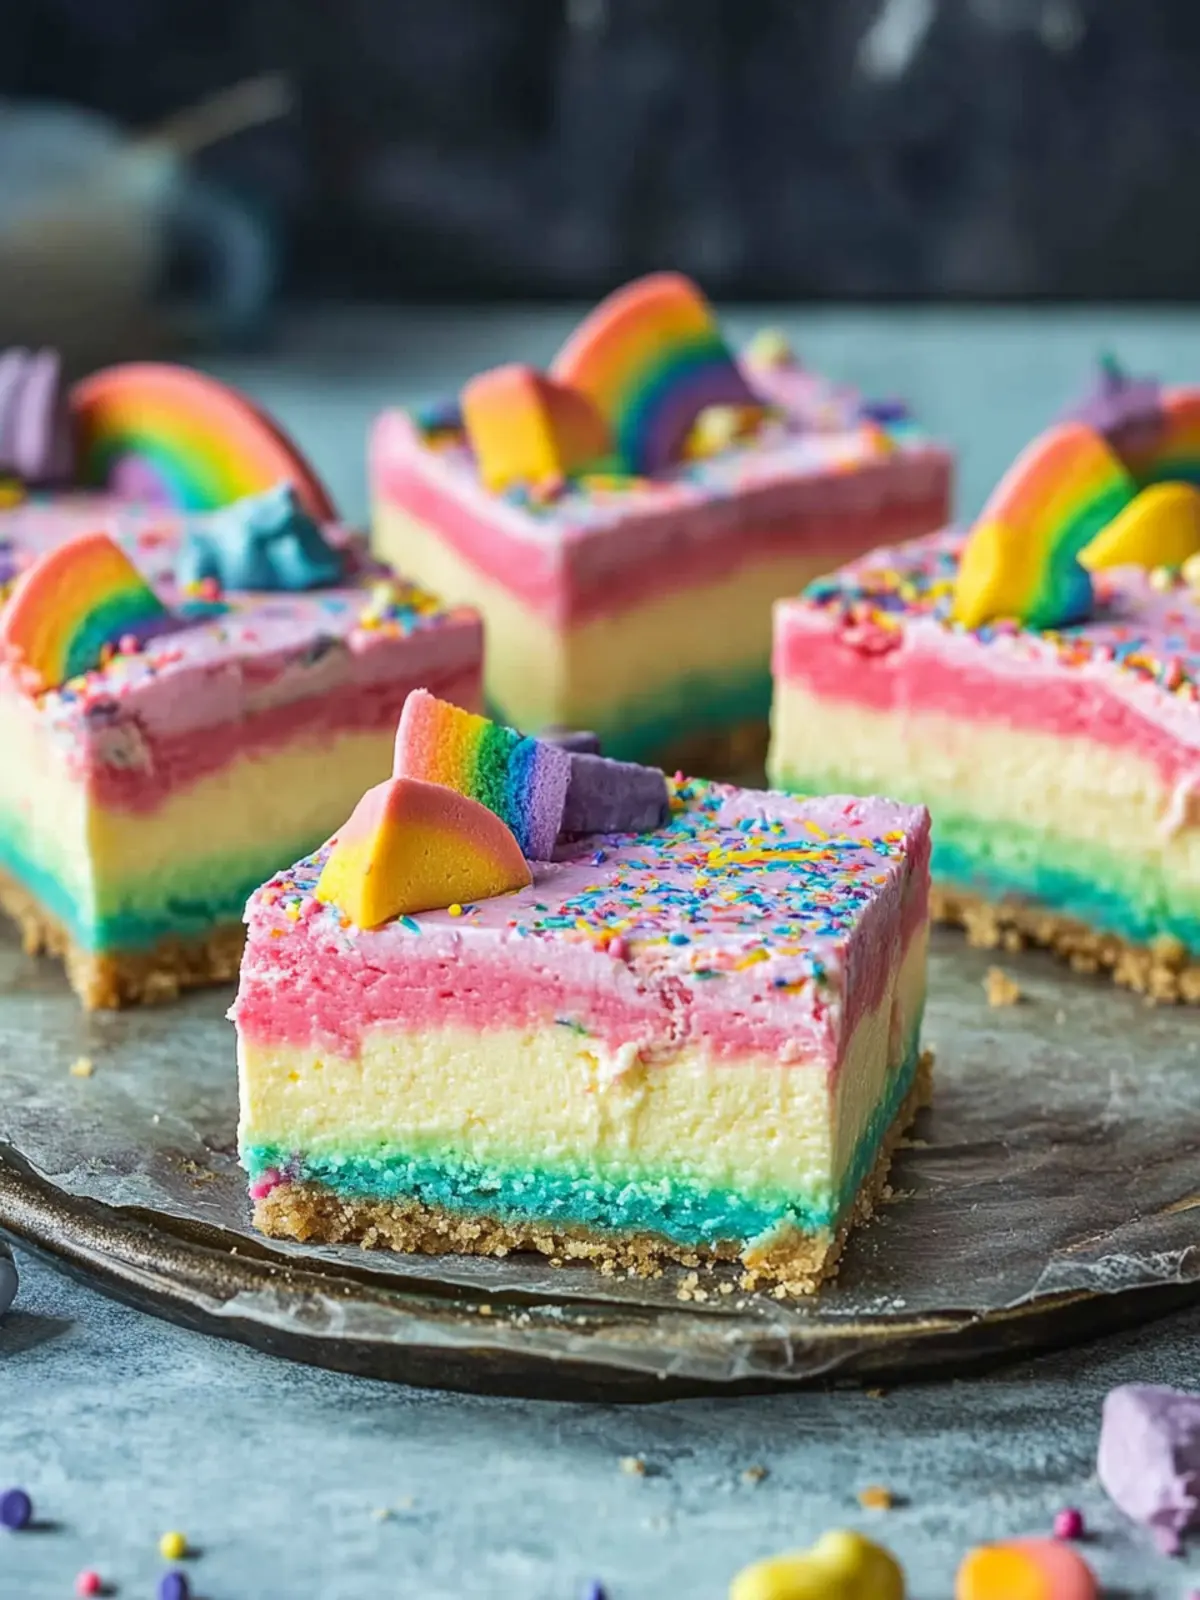
Why will you adore Rainbow Cheesecake Bars?
Irresistible Visual Appeal: With their stunning layers of color, these bars are sure to catch everyone’s eye.
Easy Preparation: No baking required means you can whip them up quickly without any fuss, perfect for impromptu gatherings.
Creamy Bliss: The combination of cream cheese and whipped cream results in a fluffy texture that’s utterly delightful.
Endless Customization: Feel free to change the colors or add different flavors, making each batch uniquely yours!
Perfect for Celebrations: Whether it’s a birthday party or a festive gathering, these bars bring joy and sweetness to any event.
Make sure to check out more delightful desserts like funfetti cupcakes to keep the celebration going!
Rainbow Cheesecake Bars Ingredients
For the Base
• Golden Oreos – Perfect for a sweet, crunchy foundation; feel free to substitute with regular chocolate Oreos for a twist.
• Unsalted Butter – Melts to bind the crumbs together; easily melt it in the microwave for convenience.
For the Cheesecake Layer
• Cream Cheese – The star ingredient that gives a creamy consistency; ensure it’s softened for easy blending.
• White Chocolate – Adds a rich sweetness to the cheesecake; remember to melt and cool it slightly before mixing in.
• Heavy Cream – Whipped to create a light texture that makes each bite indulgent; chill beforehand for the best results.
• Mascarpone Cheese – Enhances creaminess and helps stabilize the whipped cream; think of it as a richer alternative to sour cream.
• Vanilla Extract – Elevates the flavor profile; using quality extract can make a noticeable difference.
For the Colorful Topping
• Rainbow Sprinkles – Bring a festive look and extra crunch; opt for high-quality jimmies for better stability.
• Food Gel Colors – Use these to tint your whipped cream vibrantly; gel formulas are key to avoid any unwanted splitting in texture.
Elevate your baking with these dreamy Rainbow Cheesecake Bars that let your creativity shine!
How to Make Rainbow Cheesecake Bars
-
Prep the Base: Start by preparing your springform pan. Carefully process the Golden Oreos into fine crumbs and combine them with melted butter and rainbow sprinkles until well blended. Press this mixture firmly into the bottom of the pan and chill while you make the filling.
-
Make the Cheesecake Layer: In a mixing bowl, whip the softened cream cheese until fluffy and smooth. Gradually incorporate the melted white chocolate until fully combined. In a separate bowl, whip the heavy cream and mascarpone together until stiff peaks form, and gently fold this into the cream cheese mixture along with the sprinkles for added texture.
-
Layer Cheesecake Mixture: Once your cheesecake layer is mixed, evenly spread it over the chilled crumb base in the springform pan. Return to the fridge to chill for about 3-4 hours, or until set.
-
Prepare the Rainbow Topping: Whip the extra heavy cream and mascarpone with vanilla until stiff. Divide the whipped cream into five portions and tint each with different food gel colors. Use a piping bag to decorate the top of the chilled cheesecake with vibrant swirls of color.
Optional: For a delightful crunch, add extra rainbow sprinkles on top before serving.
Exact quantities are listed in the recipe card below.
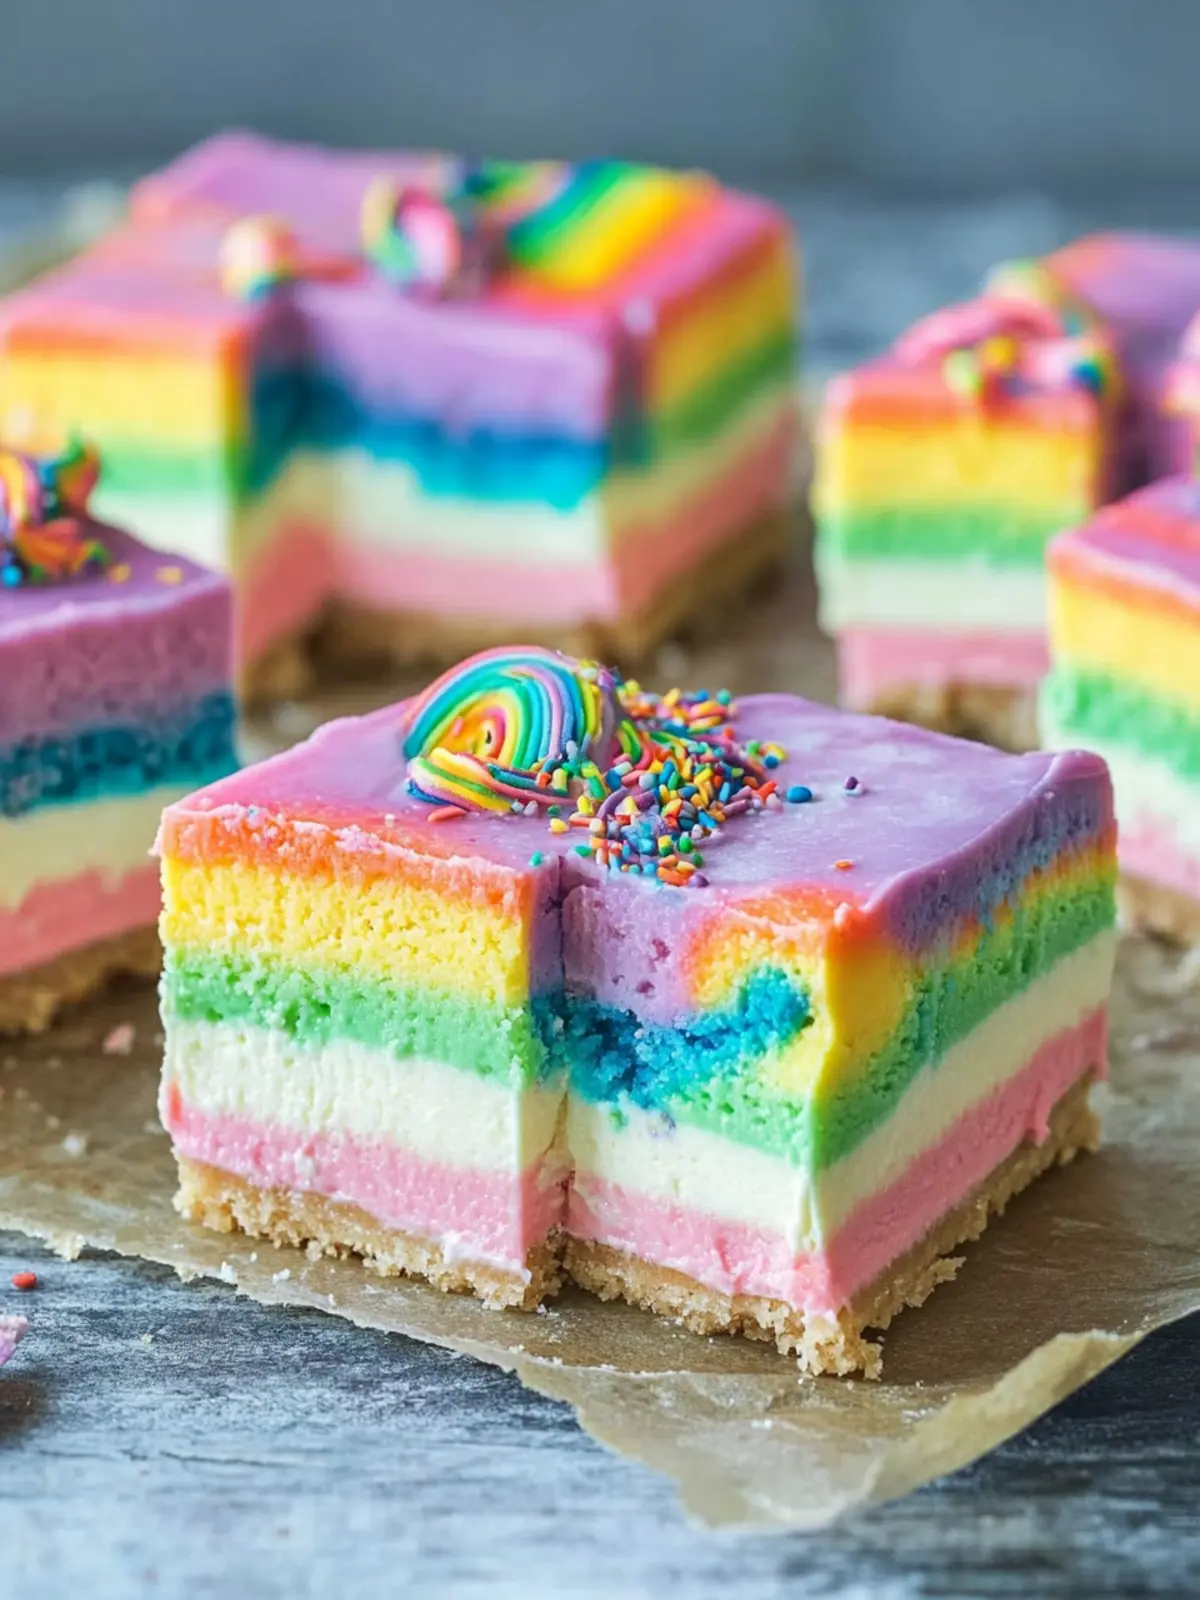
How to Store and Freeze Rainbow Cheesecake Bars
Fridge: Keep your Rainbow Cheesecake Bars in an airtight container for up to 3 days to maintain their freshness and fluffy texture.
Freezer: For longer storage, these bars can be frozen. Slice them first, then wrap each piece individually in plastic wrap and place in a freezer-safe container for up to 2 months.
Thawing: To enjoy, simply thaw in the fridge overnight before serving. This helps preserve their creamy consistency while maintaining that delightful, vibrant appeal.
Reheating: There’s no need to reheat these no-bake bars; serve them chilled for the best experience!
Make Ahead Options
These Rainbow Cheesecake Bars are a dream for meal prep! You can prepare the crust and cheesecake layer up to 24 hours in advance by following the initial steps of blending the Golden Oreos with butter and chilling it in the springform pan. The cheesecake mixture can also be made a day ahead; just ensure it’s well covered in the fridge to maintain its fluffy texture. When you’re ready to serve, simply pipe on the vibrant rainbow whipped cream and add any extra sprinkles. This way, you’ll have a delightful dessert ready for gatherings, allowing you to enjoy more time with your loved ones while still impressing them with a gorgeous treat!
What to Serve with Rainbow Cheesecake Bars?
Indulge in a feast of colors and flavors alongside your delightful dessert adventure!
- Fresh Berries: A medley of strawberries, blueberries, and raspberries adds a juicy, refreshing burst that balances the rich creaminess perfectly.
- Mint Yogurt Dip: Light and cool, this dip enhances the colorful bars with a hint of mint, making each bite a bit more uplifting.
- Chocolate Sauce Drizzle: A rich chocolate complement adds decadence; warm it slightly for a luscious pour over each piece.
- Lemonade Spritzers: Bright and bubbly, these drinks bring a zesty contrast to the sweet bars, refreshing your palate between bites.
- Classic Vanilla Ice Cream: The creamy vanilla provides a wonderful accompaniment, adding another layer of texture and temperature to the experience.
- Crushed Cookie Crust: Serve some of the cookie crumbs on the side for an extra crunch. Paired with the fluffiness of the bars, it offers delightful variation!
- Fruit Salad: A colorful bowl of mixed fruits introduces a healthy, vibrant option to round out the meal and cleanse the palate.
- Coffee or Tea: The warmth and richness of coffee or a bright herbal tea can beautifully complement the sweetness of the bars, balancing flavors harmoniously.
- Whipped Cream: Serve a dollop beside the bars for added creaminess; mix in some extra sprinkles for a fun touch!
Create a beautiful gathering by pairing these delicious accompaniments with your Rainbow Cheesecake Bars!
Rainbow Cheesecake Bars Variations
Feel free to explore delightful twists on this recipe—you’re only limited by your imagination!
- Dairy-Free: Substitute cream cheese and mascarpone with a vegan cream cheese alternative for a lactose-free version.
- Gluten-Free: Use gluten-free Oreos to make the crust and ensure everyone can enjoy this dessert.
- Fruit-Infused: Blend in pureed fruits like strawberries or raspberries for a sweet and tangy layer within the cheesecake.
- Chocolate Lovers: Fold in mini chocolate chips into the cheesecake mixture for added chocolatey goodness in each bite.
- Nutty Crunch: Incorporate finely chopped nuts into the base for a crunchy texture contrast alongside the soft cheesecake.
- Seasonal Spice: Add a hint of cinnamon or pumpkin spice for a cozy seasonal variation during fall festivities.
- Zesty Twist: Mix in a teaspoon of lemon or lime zest to brighten the cheesecake flavor, giving it a refreshing zing.
- Layered Surprise: Create distinct layers of cheesecake by alternating colors or flavors between layers for an even more vibrant treat!
Expert Tips for Rainbow Cheesecake Bars
-
Soften Cream Cheese: Make sure your cream cheese is at room temperature before mixing to eliminate lumps and ensure a silky smooth texture in your cheesecake layer.
-
Gentle Folding: When incorporating the whipped cream into the cheesecake mixture, use a spatula and fold gently to maintain that delightful airy texture of your Rainbow Cheesecake Bars.
-
Chill Properly: Allow the cheesecake bars to chill completely for at least 3-4 hours. This step is crucial for achieving the right set and avoiding a gooey consistency.
-
Quality Ingredients Matter: Invest in high-quality vanilla extract and gel colors, as they significantly elevate the overall flavor and appearance of your dessert.
-
Avoid Liquid Colorants: Always opt for food gel colors instead of liquid dyes. Liquid colors can alter the texture and lead to undesirable results, such as splitting in the whipped cream.
-
Customize with Flavor: Experiment with different flavors of extract or zest to tailor the taste of your cheesecake. Try lemon zest for a refreshing twist that pairs perfectly with the sweetness!
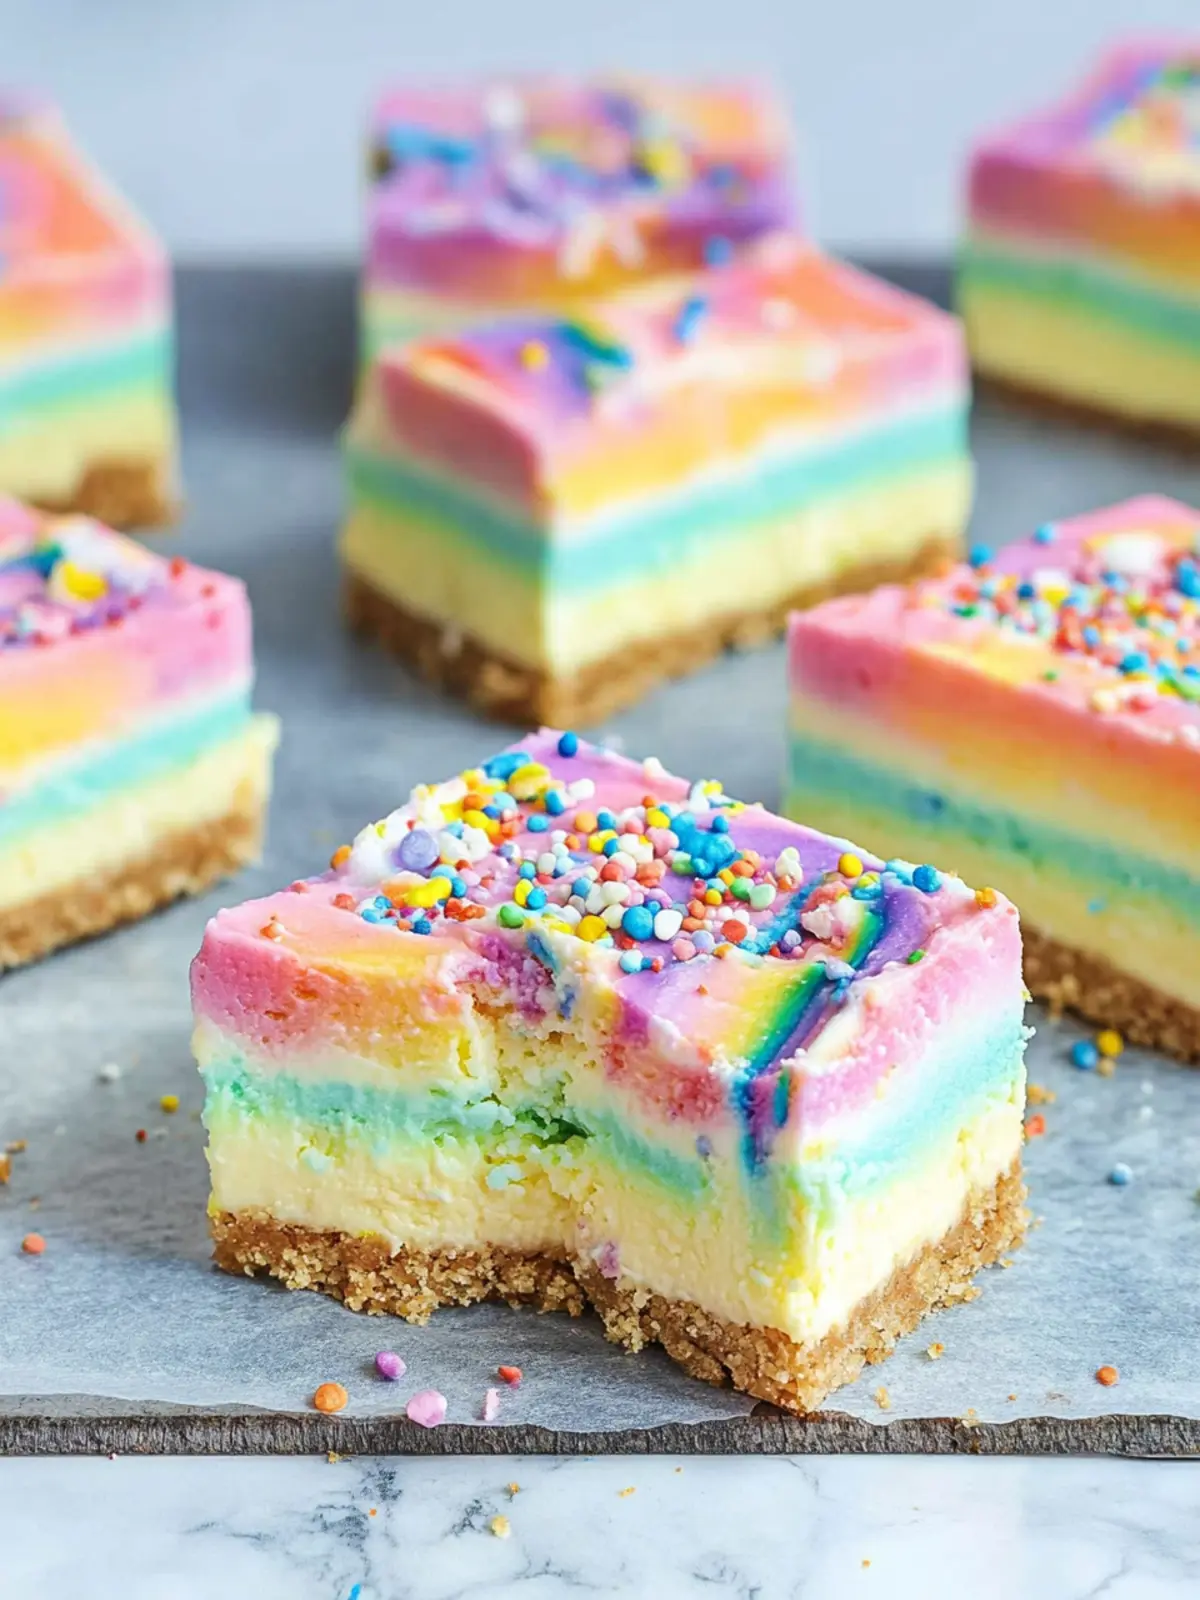
Rainbow Cheesecake Bars Recipe FAQs
What kind of Oreos should I use for the base?
Absolutely! Golden Oreos work brilliantly for a sweet and crunchy foundation. However, if you want to switch things up, regular chocolate Oreos can also be used and will add a delightful chocolatey twist to the bars.
How should I store leftover Rainbow Cheesecake Bars?
To keep these delicious bars fresh, store them in an airtight container in the fridge for up to 3 days. This ensures that their fluffy texture remains intact, ready for your next sweet craving!
Can I freeze Rainbow Cheesecake Bars?
Very much so! You can freeze these bars for later enjoyment. Slice them into individual pieces, then wrap each slice in plastic wrap and place them in a freezer-safe container. They’ll maintain their quality for up to 2 months. When you’re ready to indulge, just thaw them in the fridge overnight.
What happens if my whipped cream isn’t thick enough?
If your whipped cream isn’t reaching the stiff peaks you desire, make sure the heavy cream is well-chilled before whipping. Additionally, check that your mixing bowl and beaters are cold as well—this aids in achieving that delightful airy texture. If you’re still having trouble, adding a tablespoon of powdered sugar can also help stabilize the whipped cream.
Are Rainbow Cheesecake Bars suitable for a vegetarian diet?
Yes! The ingredients in these Rainbow Cheesecake Bars are vegetarian-friendly. However, if you’re serving guests with dietary restrictions or allergies, be sure to double-check the labels, especially for the food gel colors and cream cheese, as some brands might include non-vegetarian agents.
Can I customize the colors and flavors of these bars?
Absolutely! The sky’s the limit when it comes to customization. You can change the food gel colors to match specific holidays or events, and feel free to experiment with different flavors, like adding lemon zest for a refreshing twist or swapping the vanilla extract for almond or coconut for a more distinct flavor!
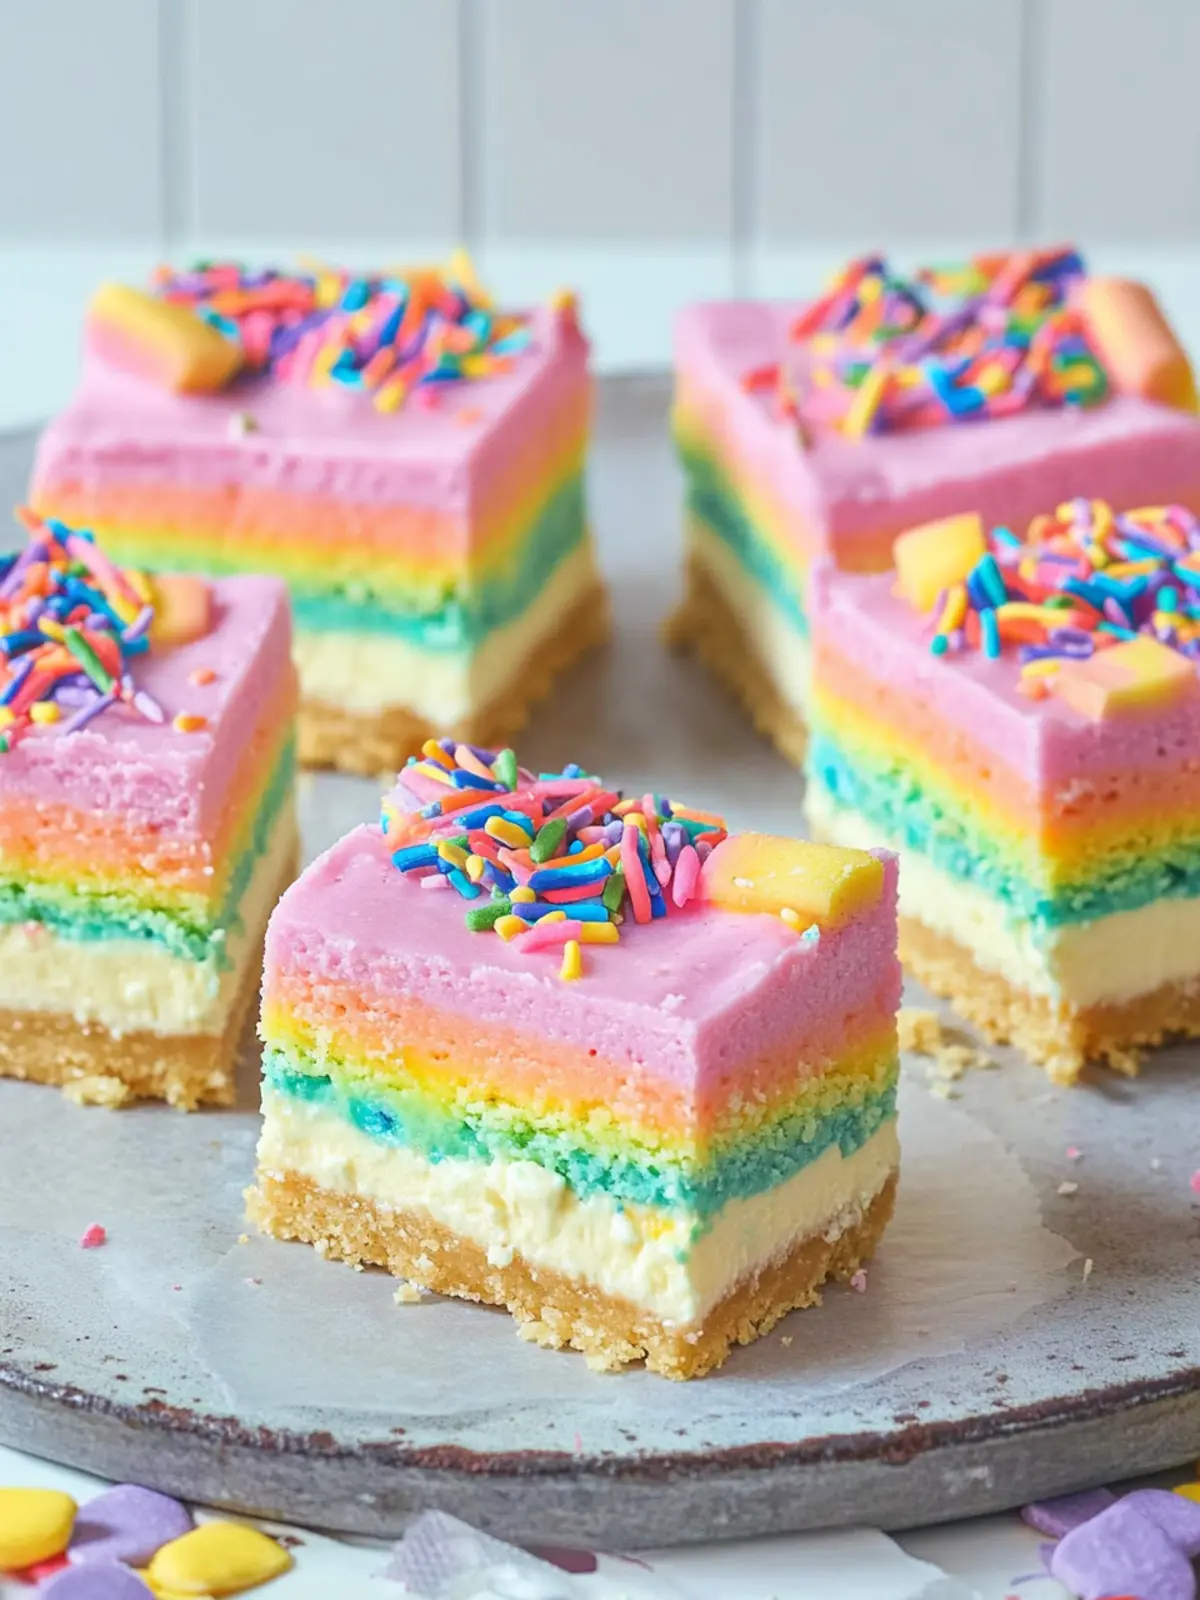
Delicious No-Bake Rainbow Cheesecake Bars for Fun Celebrations
Ingredients
Equipment
Method
- Prepare the base by processing Golden Oreos into fine crumbs, mixing with melted butter and rainbow sprinkles, then press into the pan and chill.
- In a bowl, whip softened cream cheese until fluffy. Gradually add melted white chocolate. In another bowl, whip heavy cream and mascarpone until stiff, then gently fold into cream cheese mixture along with sprinkles.
- Spread the cheesecake layer over the chilled crumb base, then return to the fridge to chill for about 3-4 hours, or until set.
- Whip extra heavy cream and mascarpone with vanilla until stiff. Divide and tint with gel colors, then decorate the top of the chilled cheesecake with colorful swirls.
- Optional: Add extra rainbow sprinkles on top before serving.