
When the craving for something sweet strikes and you want to avoid the fast-food aisle, these Irresistible Peanut Butter Cookie Cups with Gooey Chocolate Surprise will rescue you! As I was collating my favorite recipes, a simple vision of soft, chewy cookies filled with a rich chocolate center danced in my mind. With just a handful of ingredients, this delightful treat comes together in a flash, perfect for busy days or surprise gatherings.
The magic happens when you take a pan of warm cookie cups out of the oven and press a mini Reese’s Peanut Butter Cup into each one, creating a melty, chocolaty heart that’s impossible to resist. Whether you’re a dedicated home cook or someone who simply enjoys indulging in homemade treats, this recipe is designed to please everyone—from kids to discerning adults. Plus, with easy substitutions for different nut butters and fillings, you can customize these treats to delight your taste buds. Let’s dive into the delicious world of Peanut Butter Cookie Cups!
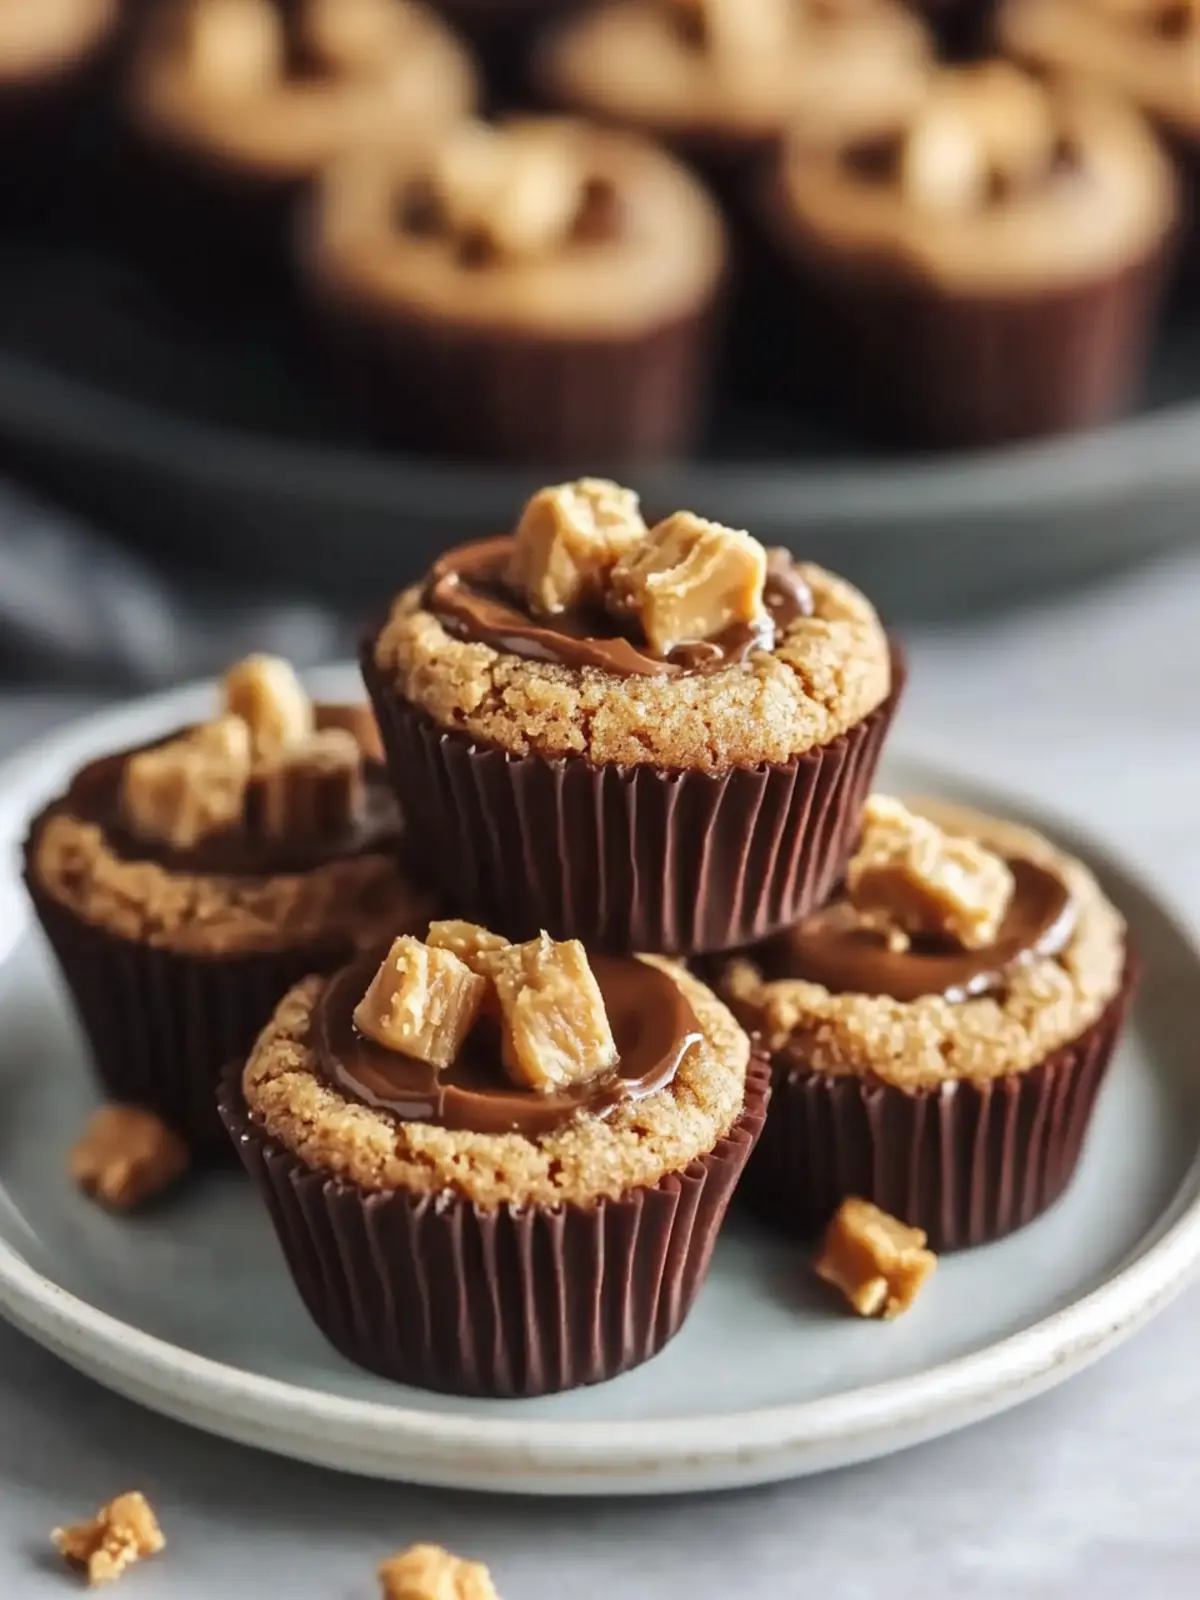
Why are Peanut Butter Cookie Cups so irresistible?
Simplicity: With minimal ingredients and straightforward steps, these cookie cups are designed for both novice bakers and seasoned chefs.
Decadent Flavor: The rich peanut butter cookie combined with a melty chocolate center creates an extraordinary experience with every bite.
Versatile: Easily switch up nut butters or add fun fillings like jam or chocolate chips to suit your cravings or dietary needs.
Crowd-Pleaser: Perfect for parties or family gatherings, these treats will satisfy everyone’s sweet tooth, making them a go-to option.
Make-Ahead Friendly: Prep these ahead of time and store them for a quick treat throughout the week; they’ll maintain their deliciousness in the fridge or freezer. Enjoy exploring the possibilities—these Peanut Butter Cookie Cups are sure to become a favorite in your home!
Peanut Butter Cookie Cups Ingredients
For the Cookie Dough
- All-Purpose Flour – Provides structure; using all-purpose flour ensures the right texture for these cookie cups.
- Salt – Balances sweetness; feel free to adjust according to your taste.
- Baking Soda – Acts as a leavening agent; fresh baking soda is essential for achieving that light, fluffy texture.
- Unsalted Butter – Adds richness and moisture; margarine can be used as a dairy-free alternative.
- Granulated Sugar – Sweetens and helps create a tender cookie; consider coconut sugar for a lower-glycemic option.
- Peanut Butter – The star of the recipe, providing rich flavor and moisture; both creamy and crunchy varieties work well.
- Packed Brown Sugar – Enhances sweetness and moisture; you can choose light or dark brown sugar based on your preference.
- Large Egg – Binds the ingredients together and adds richness; substitute with a flax egg for a vegan option.
- Pure Vanilla Extract – Deepens the flavor; using pure extract makes a significant difference in aroma and taste.
- Milk – Improves texture and adds moisture; non-dairy options like almond milk also work beautifully.
For the Chocolate Filling
- Mini Reese’s Peanut Butter Cups – Provide that gooey chocolate surprise; feel free to substitute with caramel or mint chocolate candies for variety.
Explore delicious variations and take your Peanut Butter Cookie Cups to a whole new level with these thoughtful ingredients!
How to Make Peanut Butter Cookie Cups
-
Preheat the oven to 375°F (190°C). This warm-up ensures the perfect bake for your cookie cups, creating that delightful soft and chewy texture.
-
Combine flour, salt, and baking soda in a bowl; set aside. This mixture will provide the structure for your delicious cookie bases.
-
Cream together softened butter, granulated sugar, peanut butter, and brown sugar until fluffy in a separate bowl. Aim for a light and airy consistency, about 2-3 minutes.
-
Beat in the egg, vanilla extract, and milk until well blended. This adds richness to your dough, enhancing the overall flavor and texture.
-
Mix the dry ingredients into the wet mixture gradually until just combined. Be careful not to overmix; you want to maintain that perfect chewiness!
-
Shape the dough into small balls, roughly 1 inch each, and place them in ungreased mini muffin pans. This helps create the perfect cookie cup shape!
-
Bake for 7-8 minutes. Immediately after removing from the oven, press a mini Reese’s Peanut Butter Cup into the center of each cookie ball for that gooey chocolate surprise.
-
Cool slightly in the pan before transferring to a wire rack. This step allows the chocolate to settle and prevents breaking, ensuring an irresistible treat.
Optional: Drizzle with melted chocolate for an extra touch of sweetness!
Exact quantities are listed in the recipe card below.
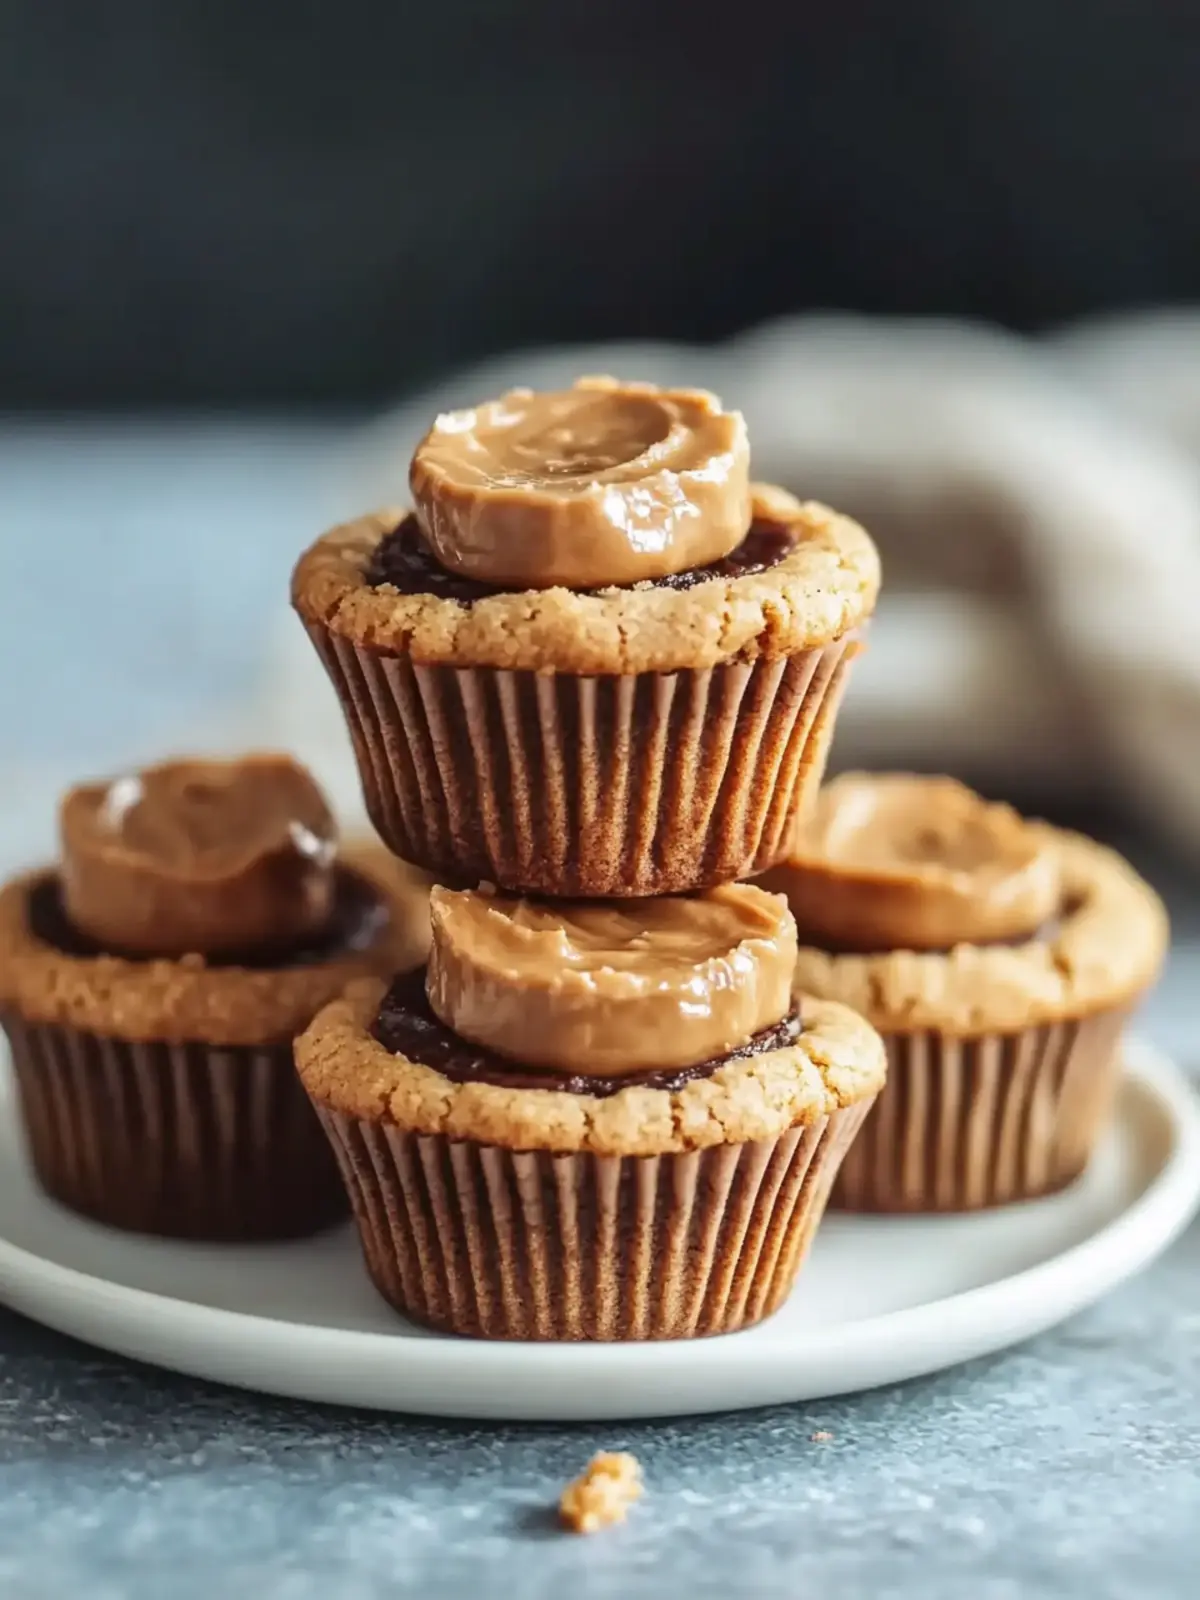
How to Store and Freeze Peanut Butter Cookie Cups
-
Room Temperature: Store your Peanut Butter Cookie Cups in an airtight container for up to 1 week to keep them soft and chewy.
-
Fridge: These delightful treats can last up to 2 weeks in the fridge. Just remember to let them warm to room temperature for the best flavor.
-
Freezer: For longer storage, place Peanut Butter Cookie Cups in a freezer-safe container for up to 3 months. Thaw overnight in the fridge or microwave for a quick warm-up.
Expert Tips for Peanut Butter Cookie Cups
- Choose the Right Flour: Using all-purpose flour is key for soft and chewy cookies. Avoid whole wheat flour, which can make them dense.
- Avoid Overmixing: Mix the ingredients just until combined to prevent tough cookie cups. Less is more when it comes to mixing!
- Warm Chocolate Centers: For gooier chocolate centers, try freezing the mini Reese’s Peanut Butter Cups before baking. They’ll melt beautifully!
- Use Quality Ingredients: Opt for pure vanilla extract and fresh baking soda for the best flavor. Small details make a big difference in your Peanut Butter Cookie Cups.
- Test for Doneness: Keep an eye on the baking time; they should be lightly golden on the edges but soft in the center. They’ll firm up as they cool.
What to Serve with Peanut Butter Cookie Cups?
Elevate your indulgent experience with delightful pairings that bring balance and fun to these sweet treats.
-
Cold Milk: The classic pairing! A tall glass of chilled milk complements the rich and gooey cookie cups perfectly, enhancing their flavors.
-
Vanilla Ice Cream: Creamy, cold ice cream adds a luscious contrast to the warm cookie cups, creating a delightful dessert experience.
-
Fresh Berries: Raspberries or strawberries provide a refreshing tartness that cuts through the sweetness, adding a burst of color and flavor.
-
Coffee: A warm cup of coffee brings out the nutty notes of the peanut butter while providing a cozy experience, perfect for daytime treats.
-
Chocolate Sauce: Drizzling warm chocolate sauce on top amps up the decadence, making each bite a luxurious delight.
-
Peanut Butter Drizzle: Enhance the peanut flavor by drizzling melted peanut butter over the cookie cups, creating a peanut lover’s dream.
-
Homemade Whipped Cream: Light and fluffy, this topping pairs beautifully with the dense cookie texture while adding a touch of sweetness.
-
Spiced Chai Tea: The aromatic spices in chai tea provide a warm, comforting contrast to the rich cookies, making them perfect for cozy gatherings.
-
Nutty Trail Mix: A simple side of nutty trail mix adds a crunchy texture and a healthier option, balancing the cookie’s sweetness.
-
Coconut Water: Refreshing and hydrating, coconut water is a light pairing that complements the richness of peanut butter without overwhelming the palate.
Make Ahead Options
These Peanut Butter Cookie Cups are perfect for meal prep aficionados! You can prepare the cookie dough up to 48 hours in advance. Simply mix the ingredients, shape the dough into balls, and refrigerate them in an airtight container. This will help maintain their freshness and ensure the flavors meld beautifully. For the best results, press the mini Reese’s Peanut Butter Cups into the cookies right before baking; that way, the chocolate will be perfectly gooey. If you prefer to bake them later, the cookie cups can also be frozen, allowing you to enjoy them fresh after up to 3 months. When craving a sweet treat, just pull them out, bake, and indulge in the effortless delight of these tasty morsels!
Peanut Butter Cookie Cups Variations
Feel free to get creative and customize these cookie cups to suit your taste buds with these delicious variations!
-
Nut-Free: Swap peanut butter with sunflower seed butter to create a safe, nut-free alternative that still packs a punch of flavor.
-
Chocolate Extravaganza: Add a handful of chocolate chips to the cookie dough for an extra hit of chocolaty goodness in every bite.
-
Fruity Twist: Instead of chocolate, place a dollop of raspberry jam in the center for a delightful fruity surprise that pairs beautifully with peanut butter.
-
Spiced Up: Incorporate a teaspoon of cinnamon into the cookie dough for a warm, comforting flavor that dances on your palate.
-
Vegan Option: Replace the egg with a flax egg and use coconut oil in place of butter to enjoy a scrumptious vegan treat without sacrificing taste.
-
Savory Surprise: Throw in a pinch of sea salt before baking to elevate the flavors and highlight the sweetness for a savory-sweet delight.
-
Minty Fresh: Use mint chocolate candies instead of Reese’s for a refreshing minty variation that adds a twist to your classic peanut butter cup experience.
-
Coconut Craze: Mix shredded coconut into the dough for a tropical flair that brings a chewy texture and delightful sweetness to each cookie cup.
Feel free to mix and match, creating a treat that’s uniquely yours!
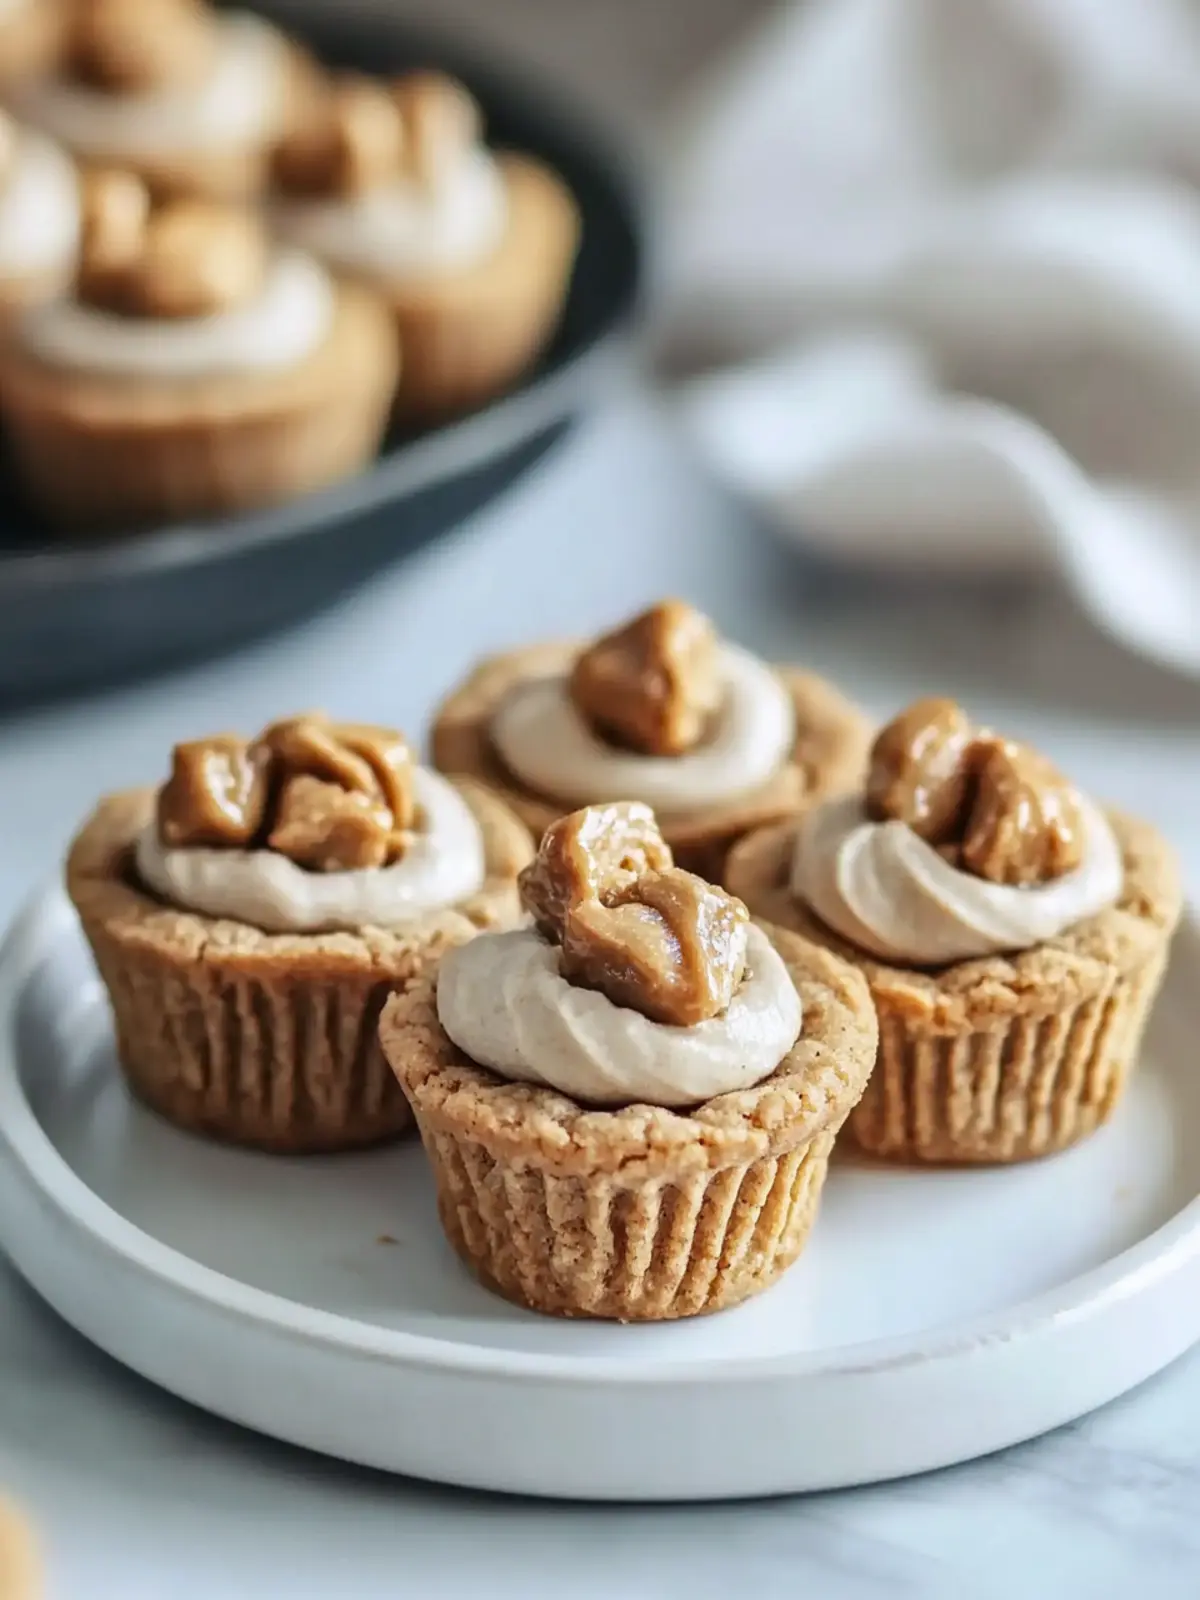
Peanut Butter Cookie Cups Recipe FAQs
How do I select the best peanut butter for my cookie cups?
Absolutely! For the best flavor and texture, I recommend using natural peanut butter, which is made from just peanuts and salt. Creamy peanut butter will give a smoother consistency, while crunchy peanut butter adds fun texture. Always check for added sugars or oils, as simpler is better for baking.
What’s the best way to store Peanut Butter Cookie Cups?
To keep your cookie cups soft and chewy, store them in an airtight container at room temperature for up to 1 week. If you prefer your treats slightly firmer, refrigerate them for up to 2 weeks. Just remember to let them sit at room temperature for a while before indulging to fully enjoy the flavors.
Can I freeze my Peanut Butter Cookie Cups?
Definitely! To freeze your cookie cups, place them in a single layer on a baking sheet and freeze until solid. Then transfer them to a freezer-safe container or zip-top bag. They can be stored for up to 3 months. When ready to enjoy, simply thaw overnight in the fridge or warm them in the microwave for a couple of seconds.
What should I do if my cookie cups spread too much while baking?
If your cookie cups spread excessively, it could be due to using melted butter instead of softened butter. Be sure to mix until just combined without overworking the dough. I often chill the dough for about 30 minutes before baking to help maintain their shape and prevent excessive spreading.
Are there any allergy considerations for this recipe?
Absolutely! If you’re baking for someone with nut allergies, you can substitute peanut butter with sunflower butter or almond butter for a nut-free option. Always double-check candy labels if using alternatives in the filling. For those with dairy allergies, swap out the milk for a non-dairy option like almond or oat milk, and ensure your chocolate choice is dairy-free too.
What if I prefer my chocolate filling to be less sweet?
Very good question! If you want to dial down the sweetness, try using dark chocolate candies instead of Reese’s cups. You could also replace the chocolate with a dollop of fruit jam for a fruity flavor or opt for caramel candies for a unique twist. Experimenting with different fillings can lead to delightful surprises!
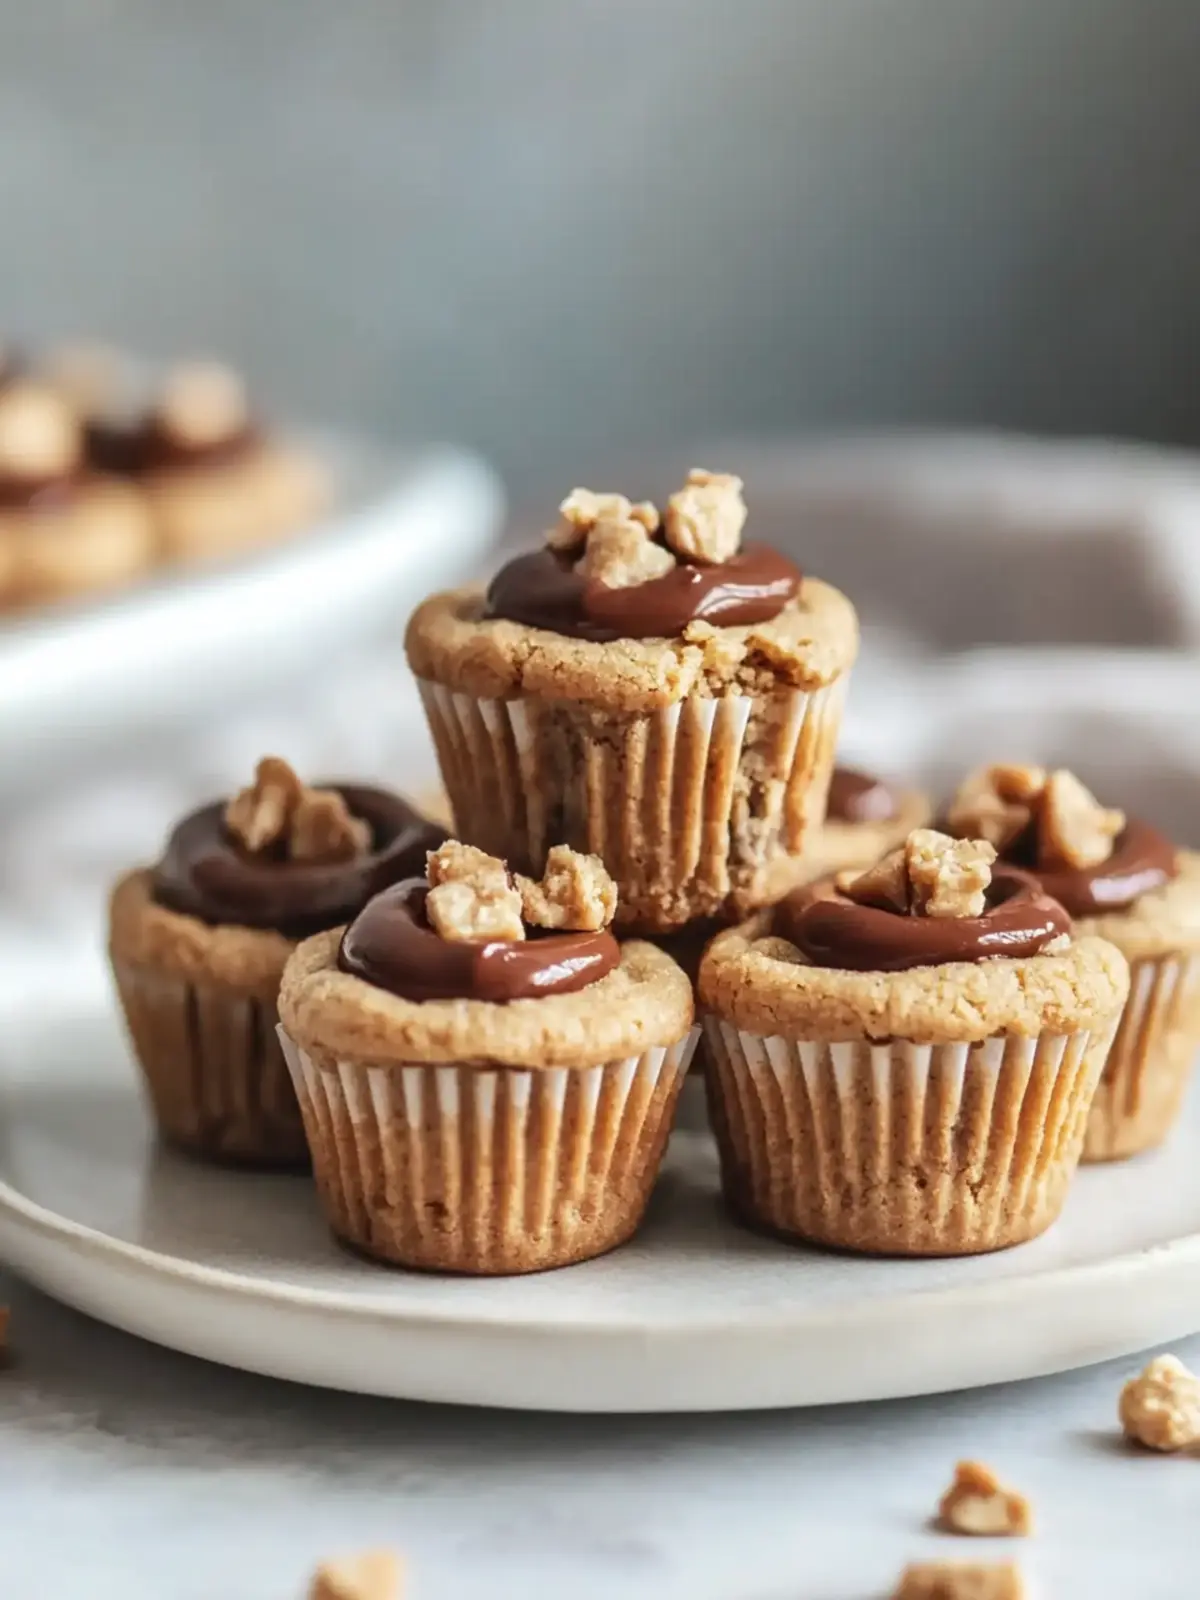
Mouthwatering Peanut Butter Cookie Cups with Chocolate Bliss
Ingredients
Equipment
Method
- Preheat the oven to 375°F (190°C).
- Combine flour, salt, and baking soda in a bowl; set aside.
- Cream together softened butter, granulated sugar, peanut butter, and brown sugar until fluffy.
- Beat in the egg, vanilla extract, and milk until well blended.
- Mix the dry ingredients into the wet mixture gradually until just combined.
- Shape the dough into small balls, roughly 1 inch each, and place them in ungreased mini muffin pans.
- Bake for 7-8 minutes. Immediately press a mini Reese’s Peanut Butter Cup into the center of each cookie ball.
- Cool slightly in the pan before transferring to a wire rack.