
There’s nothing quite like the joy of pulling fresh-baked treats from the oven, and when those treats are Peanut Butter Brookie Cups, the happiness multiplies! When I first blended a soft, chewy peanut butter cookie with a rich, fudgy brownie, I discovered a dessert that not only satisfied my sweet tooth but also delighted everyone around me. In just 40 minutes, you can transform simple ingredients into crowd-pleasing morsels that are as heartwarming as they are delicious.
Perfect for casual hangouts or special occasions, these stylish little cups carry a rustic charm that makes them an instant favorite. Can you picture the rich aroma of chocolate and peanut butter wafting through your home? Trust me, you’ll want to keep this recipe on hand for those times when only something special will do. Plus, with options for dietary adaptations, everyone can indulge in their own little piece of dessert heaven. Ready to whip up a batch? Let’s dive in!
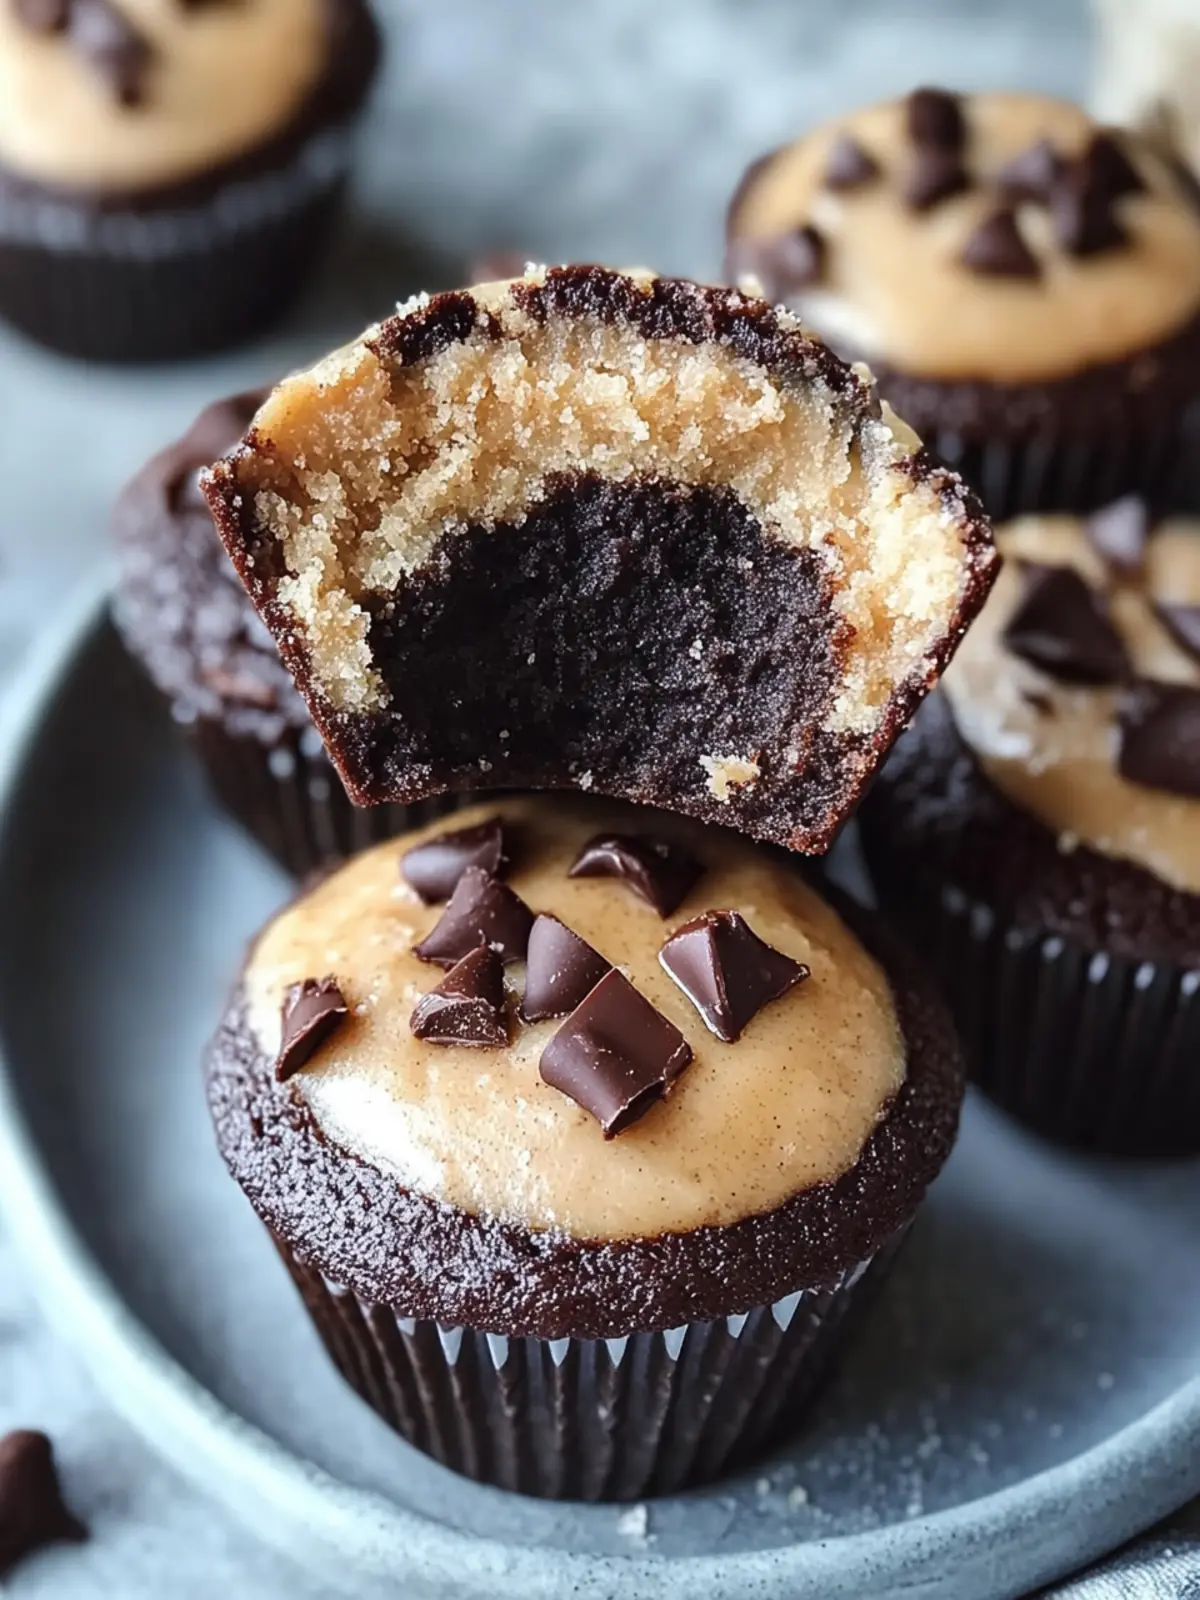
Why are Peanut Butter Brookie Cups so special?
Irresistible Combination: The unique blend of chewy peanut butter cookies and fudgy brownies creates a flavor explosion that will leave everyone craving more.
Quick to Make: With just 40 minutes from start to finish, you can whip up these delectable treats in no time!
Customizable Options: Adapt the recipe easily for dietary needs by swapping in alternatives like gluten-free flour or nut butters of your choice.
Perfect for Sharing: These delightful cups are adorable, making them a perfect centerpiece at gatherings or casual hangouts.
Satisfies All Ages: From kids to adults, everyone loves these crowd-pleasers! Pair them with vanilla ice cream or fresh berries for an elevated dessert experience.
Don’t forget to check out my tips on serving suggestions to take your dessert to the next level!
Peanut Butter Brookie Cups Ingredients
For the Cookie Dough
- Unsalted Butter – Adds richness and moisture; substitute with margarine for a dairy-free option.
- Large Egg – Provides structure and moisture; for a vegan alternative, use a flax egg (1 tbsp ground flaxseed + 2.5 tbsp water).
- Brown Sugar – Contributes sweetness and moisture; lightly packed for the best results.
- Granulated Sugar – Balances sweetness and adds texture for the finished product.
- Peanut Butter – Creamy or chunky based on your preference, contributes to the base flavor.
- Pure Vanilla Extract – Enhances flavor; avoid imitation for superior taste.
- All-Purpose Flour – Provides structure; you can use a gluten-free blend as a substitute.
- Baking Soda – Helps the cookie base rise.
- Salt – Balances sweetness, enhancing overall flavor.
- Mini Semisweet Chocolate Chips – Adds chocolate flavor; swap for dark chocolate chips for a more intense taste.
For the Brownie Batter
- Unsweetened Cocoa Powder – Enhances the chocolate flavor in the brownie base.
- Additional Mini Semisweet Chocolate Chips – For more chocolate goodness; more chocolate equals more enjoyment!
Dive into this delightful recipe for Peanut Butter Brookie Cups and get ready for a sweet treat that everyone will love!
How to Make Peanut Butter Brookie Cups
-
Preheat Oven: Begin by preheating your oven to 350°F (175°C). Don’t forget to lightly grease 18 cups of a regular-sized muffin tin to ensure easy removal later!
-
Mix Cookie Dough: In a large mixing bowl, combine melted unsalted butter, large egg, brown sugar, granulated sugar, peanut butter, and pure vanilla extract. Stir until the mixture is smooth and creamy.
-
Combine Dry Ingredients: Add all-purpose flour, baking soda, and salt to the cookie mixture, folding until just combined. Gently mix in mini semisweet chocolate chips for that extra chocolatey goodness!
-
Prepare Brownie Batter: In a separate bowl, cream together butter and sugars. Add in an egg, pure vanilla extract, cocoa powder, and remaining dry ingredients, mixing until fully incorporated. Include more mini chocolate chips to enrich the brownie batter.
-
Assemble Cups: Divide both the cookie dough and brownie batter into 18 equal pieces. Press one piece of cookie dough and one piece of brownie batter into each greased muffin cup, ensuring they fit snugly.
-
Bake: Place your muffin tin in the preheated oven and bake for 9-11 minutes, or until the edges are set and the tops are lightly golden. Remove from the oven and allow them to cool in the pan for a few minutes before transferring them to a wire rack.
Optional: Drizzle with chocolate sauce for an extra indulgent treat!
Exact quantities are listed in the recipe card below.
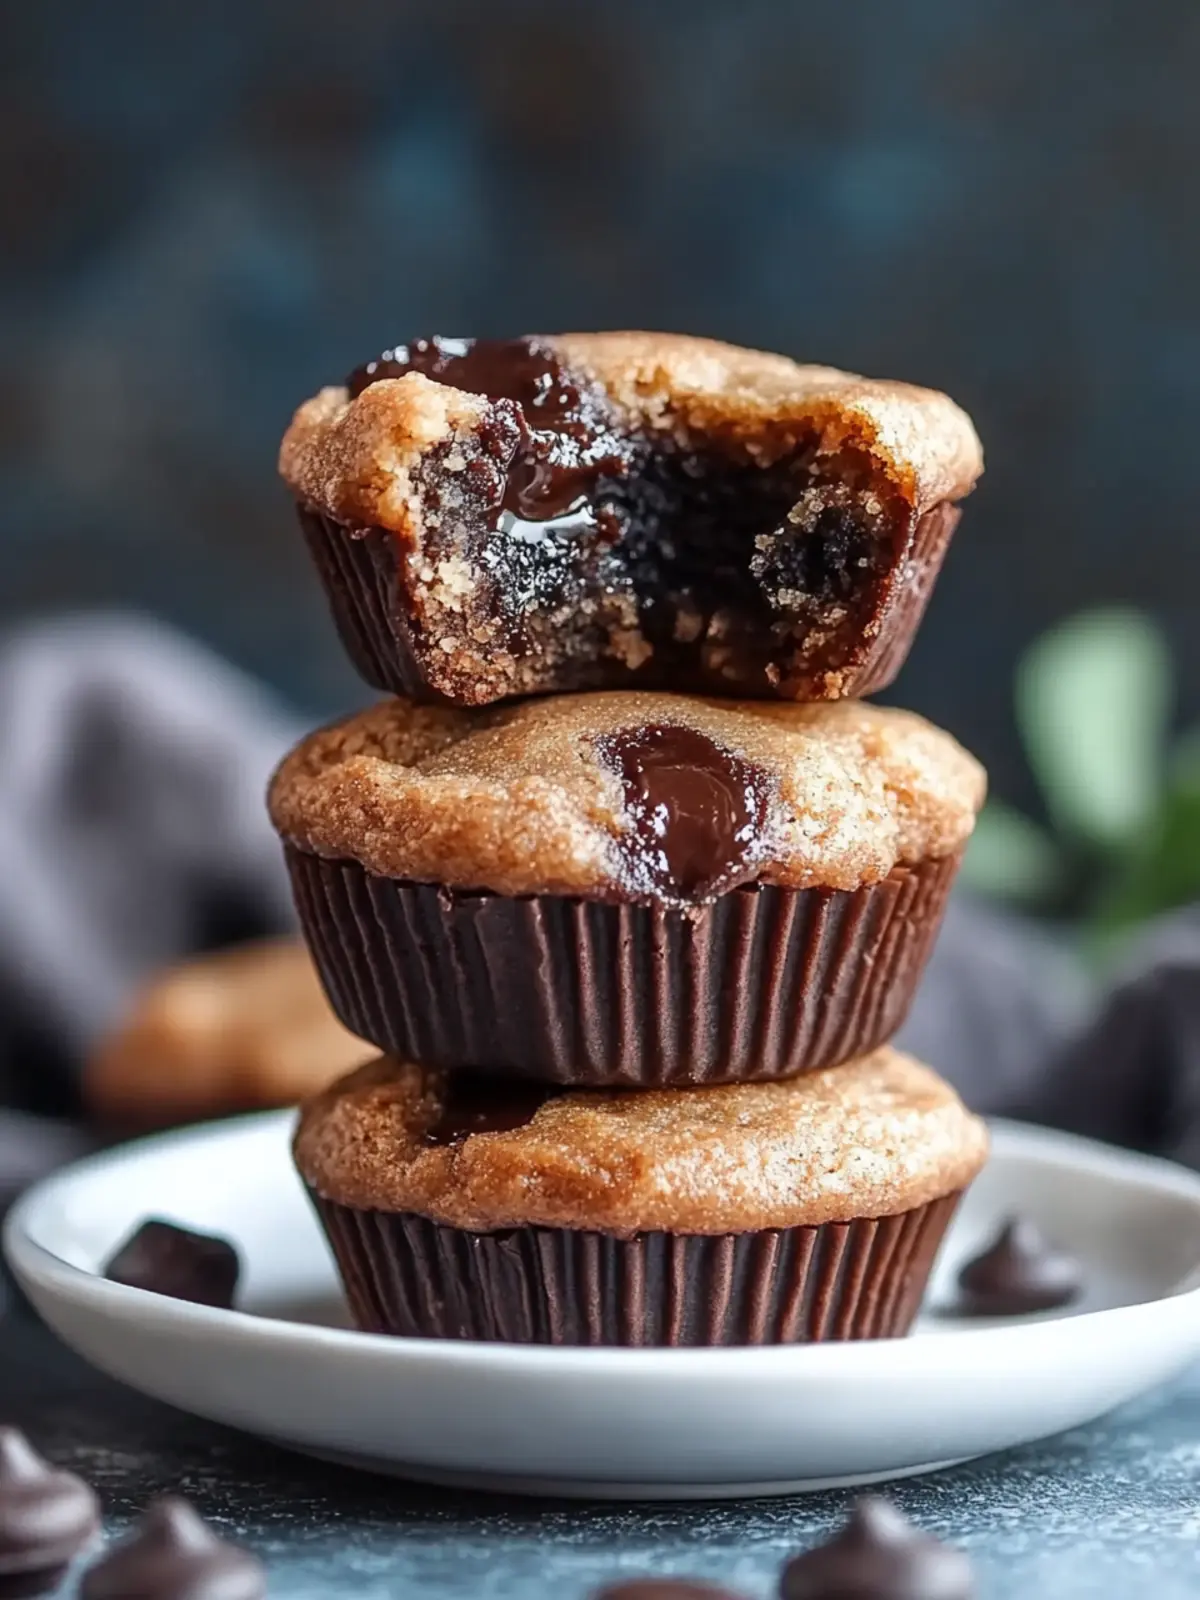
What to Serve with Peanut Butter Brookie Cups?
Indulging in these delightful brookie cups is a treat, but pairing them with the right accompaniments can elevate your dessert experience to new heights.
-
Vanilla Ice Cream: This classic pairing adds a creamy contrast to the chewy and chocolaty textures, making each bite a heavenly experience. A scoop of ice cream can balance the sweetness and enrich your dessert moment.
-
Fresh Berries: Strawberries or raspberries offer a refreshing burst of flavor that cuts through the richness of the brookie cups. Their slight tartness complements the sweet peanut butter and chocolate perfectly.
-
Chocolate Drizzle: For the chocolate lovers, a drizzle of melted chocolate over the tops takes these brookie cups to a whole new level of indulgence. It’s a simple way to add more chocolatey goodness and elegance to your presentation.
-
Whipped Cream: Light and airy whipped cream creates a delightful contrast in texture. Serve a dollop on top or alongside for a sweet, fluffy bite that enhances each flavor.
-
Espresso or Coffee: A warm cup of espresso or coffee pairs beautifully with the sweet flavors of peanut butter and chocolate. The richness of the coffee brings out the dessert’s depth, creating a lovely ending to any meal.
-
Nutty Caramel Sauce: Drizzling a homemade or store-bought nutty caramel sauce adds a rich, salty-sweet element that compliments the flavors wonderfully. This pairing will impress your guests with its delightful complexity.
Feel free to mix and match these pairings to suit your mood and occasion!
Peanut Butter Brookie Cups Variations & Substitutions
Get ready to unleash your creativity and make these delightful treats your own!
- Nut Butter Twists: Swap peanut butter for almond or cashew butter for a unique flavor boost.
- Gluten-Free Option: Substitute all-purpose flour with a 1:1 gluten-free blend for those gluten sensitivities.
- Vegan Delight: Replace eggs with a flax egg (1 tbsp ground flaxseed + 2.5 tbsp water) to keep this treat plant-based.
- Mini Treats: Use a mini muffin tin for bite-sized versions that are perfect for sharing or portion control. Bake for just 7-8 minutes.
- Chocolate Lovers: Add a generous drizzle of chocolate sauce or a sprinkle of chocolate shavings on top before serving for added richness.
- Fruit Fusion: Top your cups with fresh berries or banana slices to introduce a refreshing twist on this indulgent dessert. The sweet and tart contrast is superb!
- Spicy Kick: Incorporate a pinch of cayenne pepper or cinnamon into the brownie batter to add an unexpected warm spice that elevates the flavors beautifully.
- Nutty Crunch: Mix in chopped nuts, like pecans or walnuts, for an exciting crunch that complements the soft textures of the brownie and cookie.
Each variation brings a delightful surprise, adding your personal touch to these already beloved cups. Enjoy exploring different flavors and textures!
Make Ahead Options
These Peanut Butter Brookie Cups are a lifesaver for busy home cooks looking to save time! You can prepare the cookie and brownie doughs up to 24 hours in advance. Simply mix each dough as directed, then wrap them separately in plastic wrap and refrigerate until you’re ready to bake. This method helps maintain their freshness and quality, ensuring they’re just as delicious when baked. When you’re ready to enjoy, let the dough sit at room temperature for about 10-15 minutes for easy handling. Then, proceed by filling your muffin tin and baking as instructed for a delightful treat with minimal effort!
How to Store and Freeze Peanut Butter Brookie Cups
- Room Temperature: Store your Peanut Butter Brookie Cups in an airtight container for up to 3-5 days to maintain their delightful texture and flavor.
- Fridge: Keep them in the refrigerator for up to 7 days. Just be sure they’re tightly sealed to avoid drying out!
- Freezer: For longer storage, wrap each cup individually in plastic wrap and then place them in a freezer-safe bag. They can be frozen for up to 3 months.
- Reheating: When you’re ready to enjoy, thaw at room temperature or warm in the microwave for about 10-15 seconds to regain that fresh-baked warmth.
Helpful Tricks for Peanut Butter Brookie Cups
-
Gentle Mixing: Overmixing the dough can lead to tough cookies. Mix gently for a light, chewy texture in your Peanut Butter Brookie Cups.
-
Cool Completely: Allow the cups to cool completely in the tin before removing them. This helps maintain their shape and prevents them from sinking.
-
Muffin Tin Magic: Use a regular-sized muffin tin for even heat distribution, ensuring that both the cookie and brownie layers bake beautifully together.
-
Check Doneness: Keep an eye on the baking time. The cups should look set at the edges but remain soft in the center for that delightful fudgy texture.
-
Flavor Variations: Feel free to experiment with different nut butters or add-ins like chopped nuts for an extra crunchy twist on your Peanut Butter Brookie Cups!
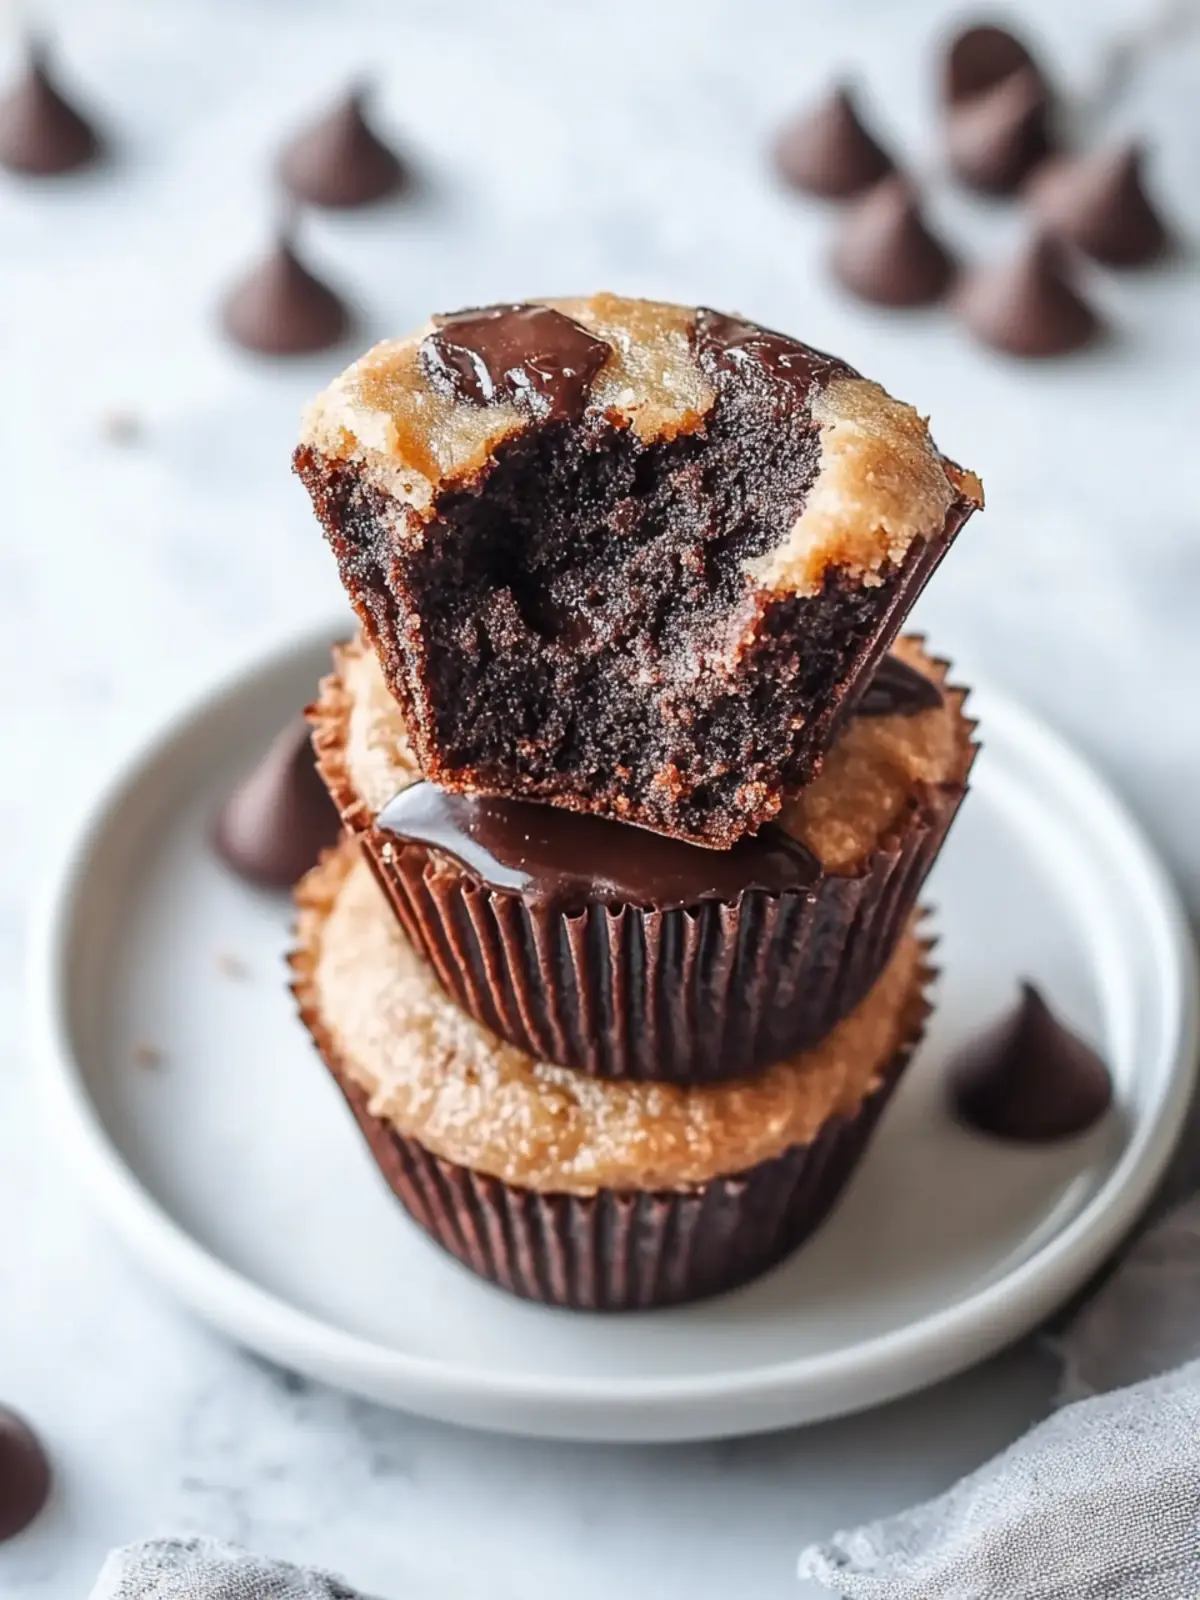
Peanut Butter Brookie Cups Recipe FAQs
What kind of peanut butter should I use for Peanut Butter Brookie Cups?
You can use either creamy or chunky peanut butter based on your personal preference. Creamy peanut butter will give the cups a smooth texture, while chunky adds delightful little bits for extra crunch. I often recommend going for natural peanut butter for a healthier option!
How should I store my Peanut Butter Brookie Cups?
These delectable treats can be stored in an airtight container at room temperature for about 3-5 days. If you want them to last a bit longer, you can refrigerate them for up to a week. Just make sure they’re sealed tightly to prevent drying out. Trust me, you won’t want to lose that lovely chewiness!
Can I freeze Peanut Butter Brookie Cups?
Absolutely! To freeze them, wrap each cup individually in plastic wrap and place them in a freezer-safe bag. This way, they will stay fresh for up to 3 months. When you’re ready to enjoy, simply thaw them at room temperature or pop them in the microwave for 10-15 seconds to warm up.
What should I do if my Brookie Cups sink in the middle?
It’s common for Brookie Cups to sink slightly as they cool down, but you can avoid excessive sinking by ensuring they’re completely cooled in the muffin tin before removing. If they still seem too flat, you might want to check that you’re measuring your ingredients correctly, especially when it comes to flour and sugar. A kitchen scale can be helpful for precision!
Are there any allergy considerations with this recipe?
Yes, if you’re making these for someone with allergies, be mindful of the ingredients. The primary allergens are peanuts (from the peanut butter), eggs, and gluten (from all-purpose flour). You can easily adapt them to be gluten-free by using a gluten-free flour blend. For egg-free, a flax egg works wonderfully. Always check labels to ensure the products you use are safe for those with allergies!
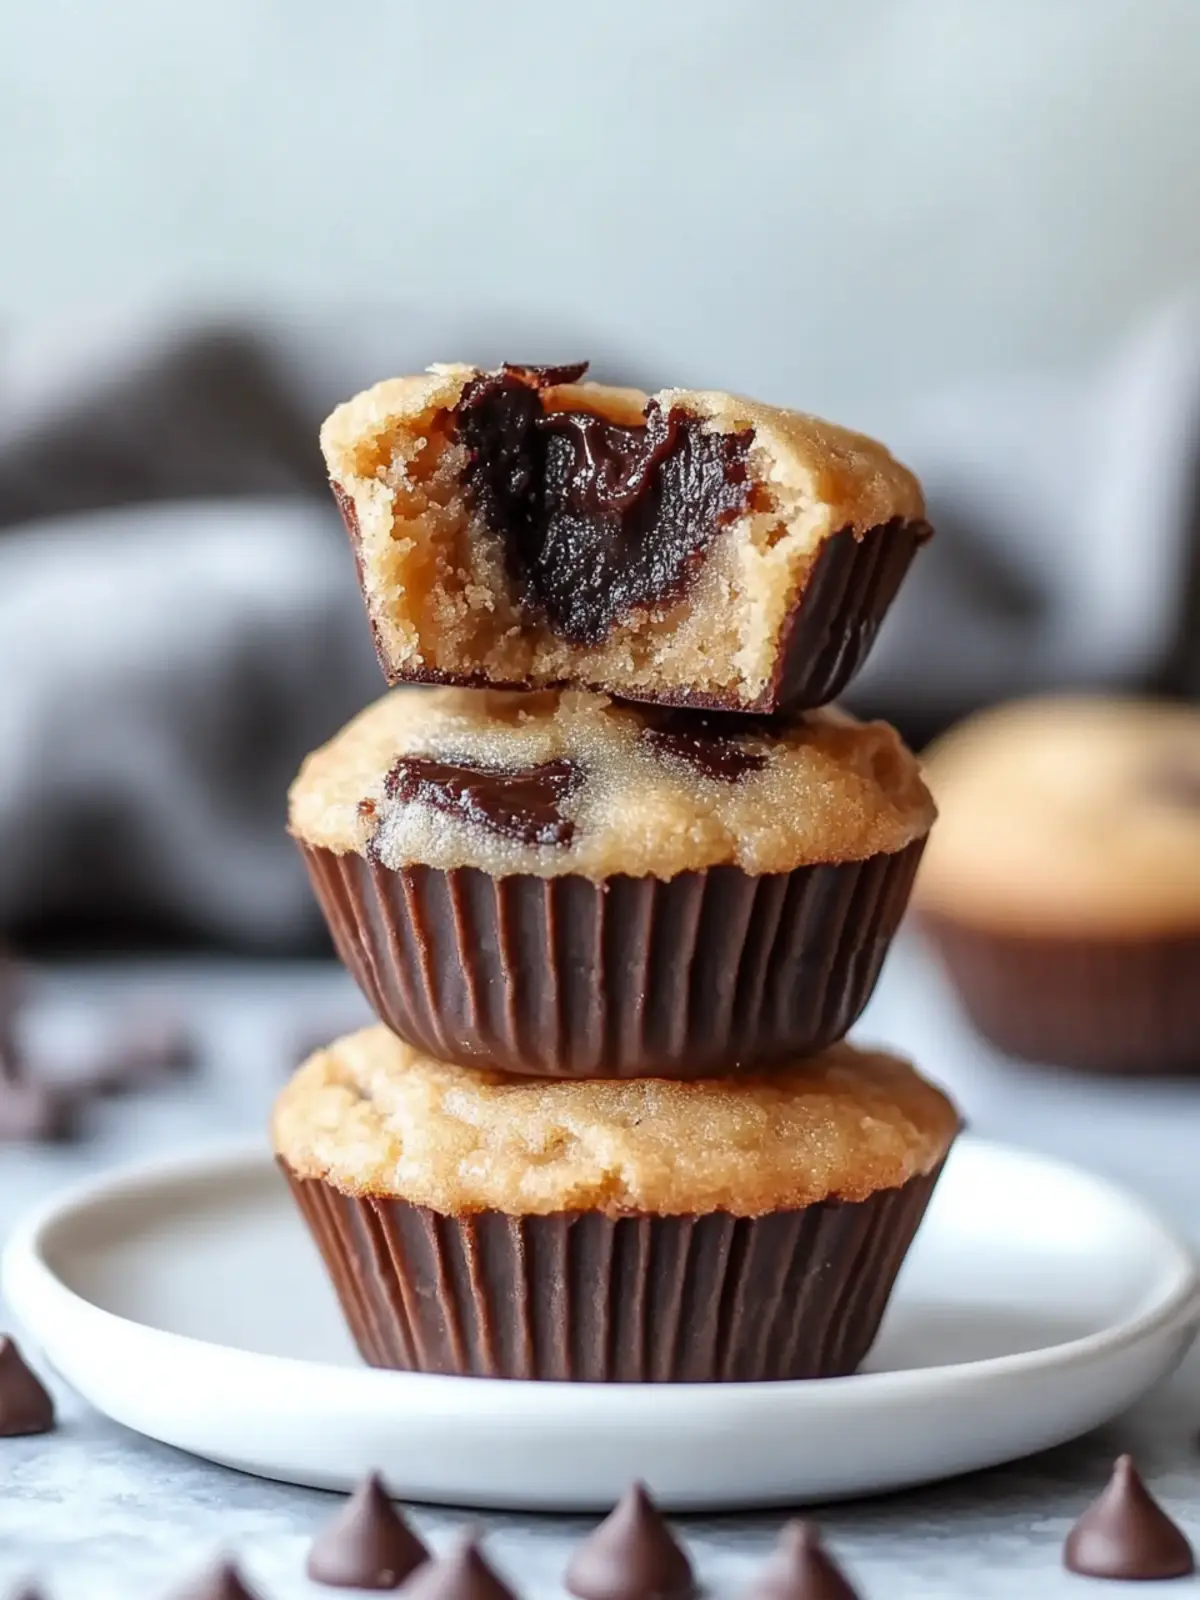
Peanut Butter Brookie Cups: Your New Favorite Sweet Treat
Ingredients
Equipment
Method
- Preheat your oven to 350°F (175°C) and lightly grease 18 cups of a regular-sized muffin tin.
- In a large mixing bowl, combine melted unsalted butter, large egg, brown sugar, granulated sugar, peanut butter, and pure vanilla extract until smooth and creamy.
- Add all-purpose flour, baking soda, and salt to the mixture, folding until just combined. Mix in mini chocolate chips.
- In a separate bowl, cream together butter and sugars. Add in an egg, vanilla extract, cocoa powder, and remaining dry ingredients, mixing until fully incorporated.
- Divide both the cookie dough and brownie batter into 18 equal pieces. Press one piece of cookie dough and one piece of brownie batter into each greased muffin cup.
- Bake for 9-11 minutes until edges are set and tops are lightly golden. Cool in the pan before transferring to a wire rack.
- Optional: Drizzle with chocolate sauce for an extra indulgent treat!