
There’s something incredibly satisfying about creating a dessert that not only tastes divine but also serves up a dose of health. When I realized how easy it was to whip up these delectable Chickpea Truffles with just three ingredients, I couldn’t believe my luck! Each bite is a luscious fusion of creamy nut butter, rich dark chocolate, and the surprising secret ingredient—chickpeas. Yes, you heard that right! These truffles redefine guilt-free indulgence and are perfect for anyone looking to elevate their dessert game while keeping it vegan and gluten-free. Whether you’re winding down after a busy day or treating yourself to something special, these truffles are ready to captivate your taste buds and provide a sweet, satisfying finish to your meals. Let’s dive into this no-bake wonder that’ll have everyone asking for the recipe!
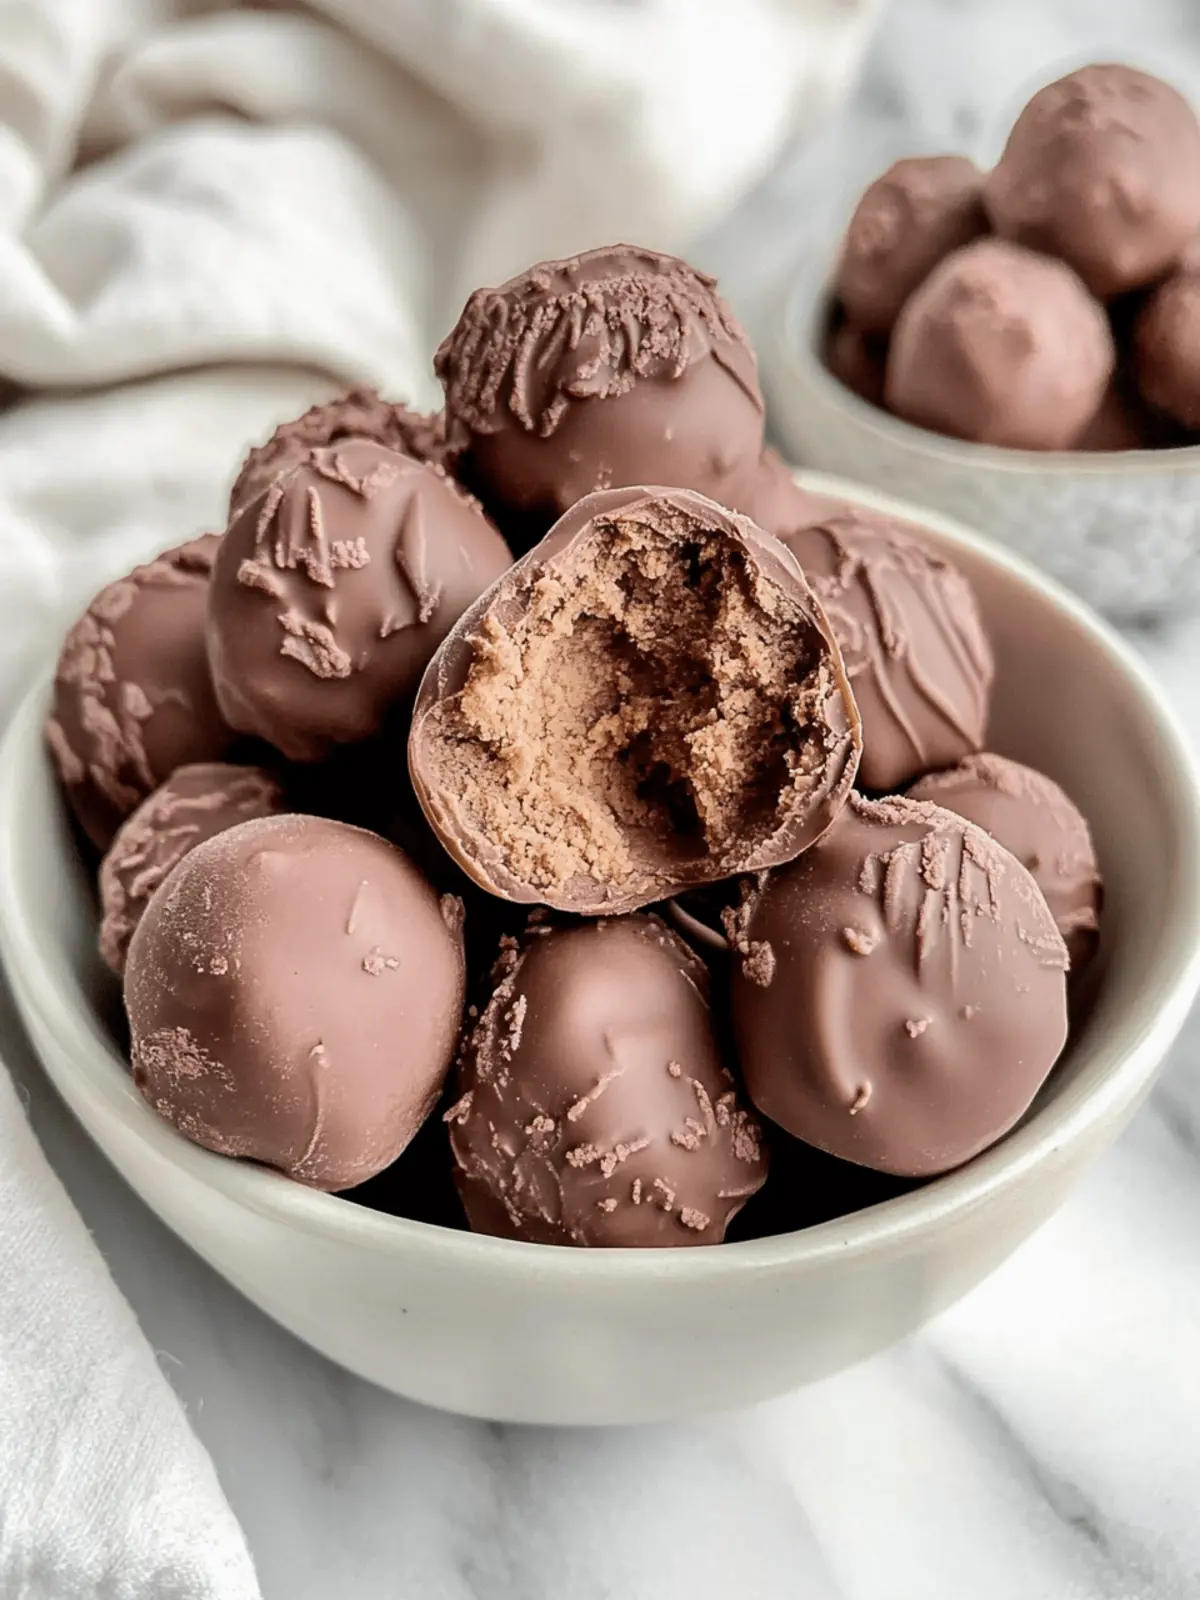
Why are Chickpea Truffles the ultimate treat?
Indulgent, these Chickpea Truffles will surprise you with their rich flavor, proving that healthy desserts can be incredibly satisfying. Super simple! With only three main ingredients, they come together in no time, perfect for busy days. Customizable, you can easily play with toppings and nut butter options to suit your taste. Nutrient-dense, they pack a protein punch while being vegan and gluten-free, a guilt-free delight for everyone. Crowd-pleasing, serve these truffles at your next gathering and watch as they vanish in an instant!
Chickpea Truffles Ingredients
For the Truffles
- Chickpeas – Essential for texture and a hidden source of protein; ensures your truffles have that creamy base.
- Nut or Seed Butter – Adds delightful richness; prefer almond or cashew butter, but feel free to use peanut or sunflower seed butter instead.
- Vegan Dark Chocolate Chips – Melting these gives a sweet, robust chocolate flavor; choose brands like Hu Kitchen for a no-added-sugar option.
- Coconut Oil – Optional for a extra smooth chocolate coating; it helps create a lovely finish to your Chickpea Truffles.
For Toppings
- Cacao Nibs – They add a crunchy texture and a deeper chocolate flavor; a great addition for the chocolate lovers.
- Goji Berries – These bright, chewy fruits introduce a hint of sweetness and a pop of color; perfect for enhancing both flavor and nutrition.
- Sprinkles – For a fun, festive touch that will delight kids and adults alike; customize your truffles’ appearance!
- Shredded Coconut – Adds a tropical flair and chewiness; great for nutty flavor fans.
- Nuts/Seeds – Chopped almonds, walnuts, or sunflower seeds can provide an extra crunch; customize to fit your taste preferences.
- Freeze-Dried Fruits – For a burst of fruity sweetness and unique texture; choose your favorites to elevate your truffles!
How to Make Chickpea Truffles
-
Prepare the Chickpeas: Drain and rinse 1 can of chickpeas under cold water. This ensures maximum smoothness for your truffles—no one likes a gritty texture!
-
Melt the Chocolate: In a microwave-safe bowl or double boiler, melt half of the dark chocolate chips (about ½ cup) until smooth. Do this in short intervals to avoid burning; it should take about 1-2 minutes.
-
Blend the Mixture: In a food processor, combine the rinsed chickpeas, ½ cup of nut or seed butter, and the melted chocolate. Blend until it reaches a creamy and smooth consistency, which may take several minutes.
-
Scoop and Firm Up: Using a cookie scoop, scoop out the mixture onto a parchment-lined baking sheet. Place them in the freezer for 15-20 minutes until they firm up nicely.
-
Roll and Coat: Once firm, roll each scoop into smooth balls. Dip each ball in the remaining melted dark chocolate, ensuring they are well-coated. This adds a delightful chocolate shell!
-
Final Freeze: Return the coated truffles to the baking sheet and freeze again for about 20-30 minutes until the chocolate is completely set.
-
Add Toppings (Optional): If desired, sprinkle your chosen toppings—like cacao nibs or shredded coconut—before the final freeze to make your truffles extra special.
-
Storage: Store your Chickpea Truffles in an airtight container in the fridge for up to 7-10 days or freeze for up to 60 days for a longer-lasting treat!
Optional: Drizzle extra melted chocolate on top for a decorative finish.
Exact quantities are listed in the recipe card below.
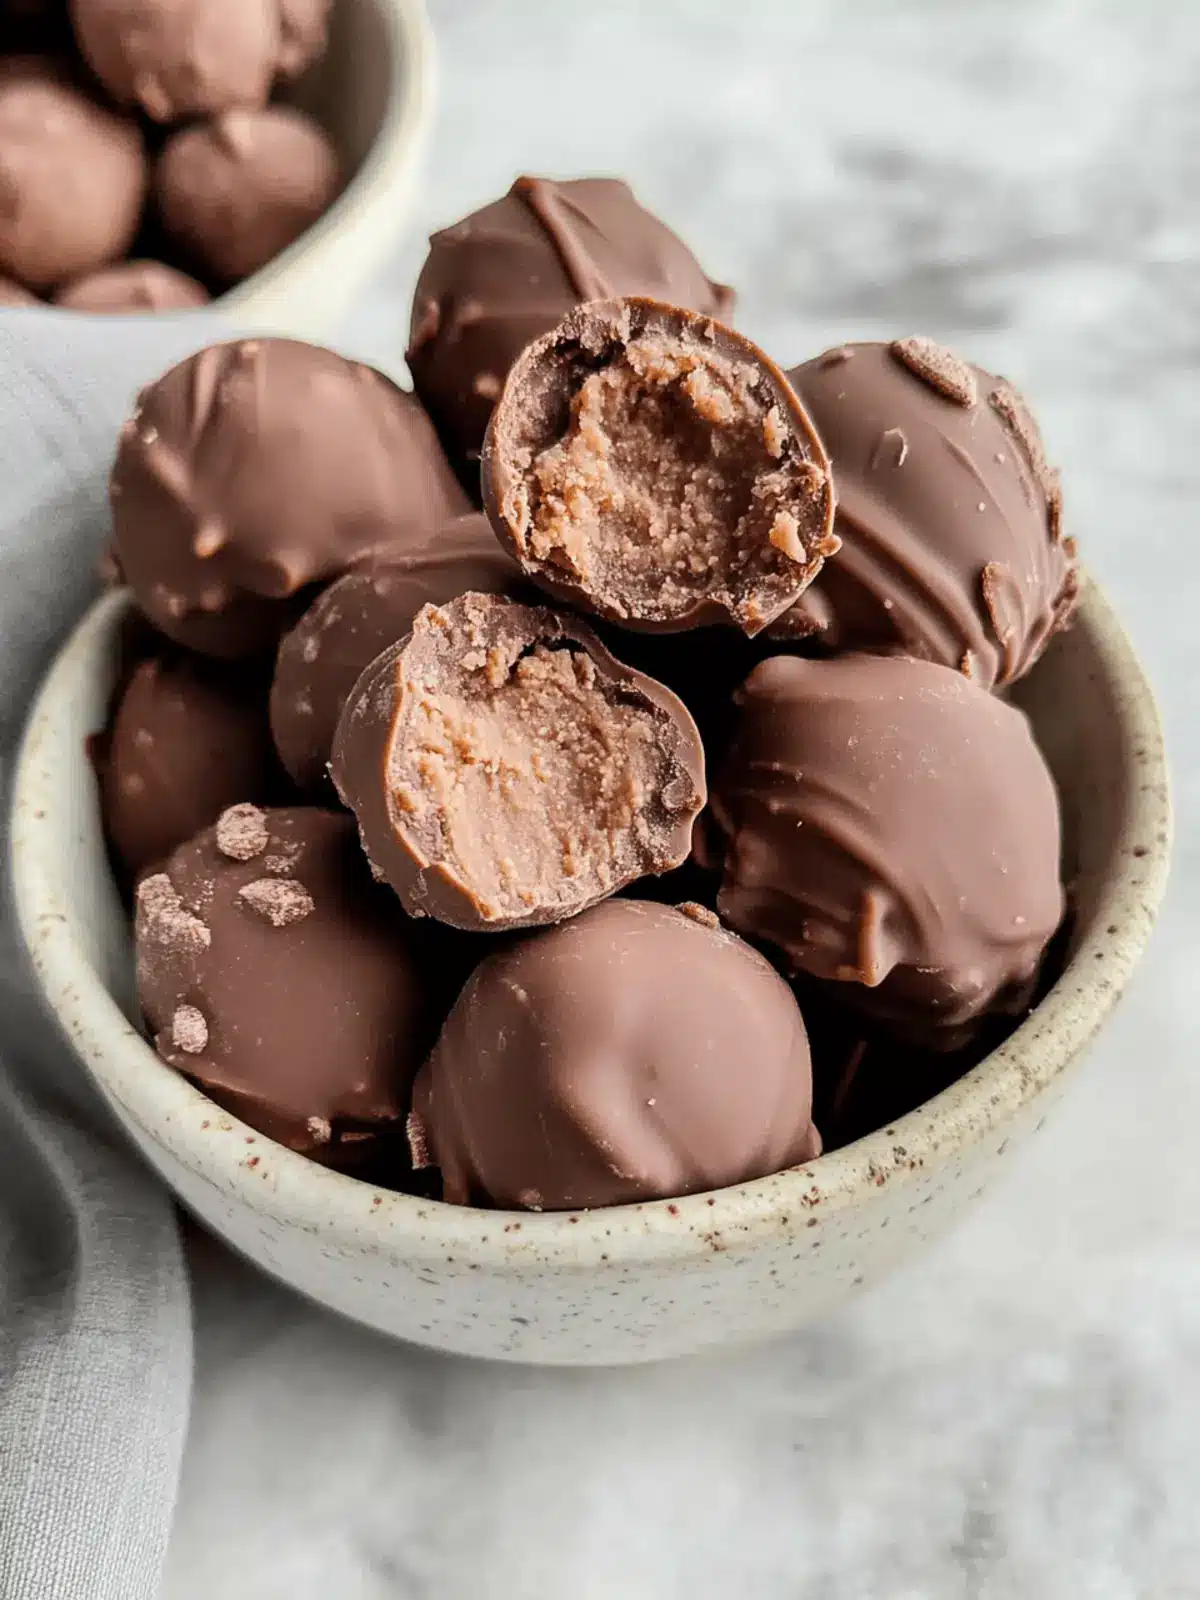
How to Store and Freeze Chickpea Truffles
Fridge: Keep your Chickpea Truffles in an airtight container for up to 7-10 days. This way, they’ll stay fresh and ready for your snacking pleasure!
Freezer: For longer storage, freeze the truffles in a single layer on a baking sheet for about 30 minutes, then transfer them to a freezer-safe bag. They can last up to 60 days.
Reheating: Enjoy them straight from the fridge or freezer! If thawed, they will maintain their delicious taste and texture, making them a delightful pick-me-up anytime.
Wrapping: If you’re planning to give these as gifts, wrap them in parchment paper or use cute treat bags before storing—perfect for sharing!
What to Serve with Chickpea Truffles?
Elevate your dessert experience with these delicious and nutritious treats that bring sweetness to any occasion.
-
Fresh Berries: Juicy strawberries, raspberries, or blueberries provide a beautiful contrast to the rich flavors of the truffles. Their tartness balances the sweetness perfectly.
-
Coconut Whipped Cream: Light and airy, this vegan alternative adds a creamy texture that complements the fudgy goodness of the truffles while enhancing their tropical notes.
-
Herbal Tea: A soothing chamomile or mint tea creates a calming after-dinner drink that cleanses the palate and enhances the dessert experience.
-
Nutty Granola: Sprinkling some crunchy granola onto the truffles elevates their texture and adds a delightful nutty flavor, creating a satisfying bite every time.
-
Citrus Salad: A vibrant citrus salad adds freshness and acidity. The zesty orange and grapefruit slices enliven the sweetness of the truffles, making it a refreshing side.
-
Dark Chocolate Drizzle: For an extra touch of indulgence, a drizzle of melted dark chocolate over the truffles adds depth and an enticing finish, making them even more irresistible.
-
Vegan Ice Cream: Serve these rich truffles alongside a scoop of creamy vegan ice cream for a decadent dessert combo that’s perfect for a special treat or casual indulgence.
Make Ahead Options
These Chickpea Truffles are ideal for meal prep, making your life easier on busy weeknights! You can prepare the truffle mixture up to 24 hours in advance; simply scoop and shape it into balls, then store in an airtight container in the fridge. For optimal quality, coat the truffles in chocolate just before serving to maintain that delightful crunch. If you’d like to prep further, freeze the truffles (before coating) for up to 60 days. When you’re ready to serve, just dip them in melted chocolate and add your favorite toppings for a quick and satisfying treat. Enjoy guilt-free indulgence without the stress!
Chickpea Truffles Variations
Feel free to get creative and make these Chickpea Truffles your own with delightful variations that will surprise your taste buds!
-
Nut Free: Swap nut butter for sunflower seed butter to enjoy a delicious nut-free treat that’s just as creamy and satisfying.
-
Chocolate Lovers: Add a tablespoon of cocoa powder or instant coffee to the blending process for an extra chocolatey kick that deepens the flavor profile.
-
Fruit Twist: Mix in dried fruits like cranberries or raisins before forming the truffles for a chewy texture that balances the creaminess of the chickpeas.
-
Spicy Kick: For a unique twist, include a pinch of cayenne pepper in the mixture to add a subtle, warming heat that complements the chocolate beautifully.
-
Gourmet Style: Roll finished truffles in crushed pistachios or almonds instead of traditional toppings for an upscale, elegant touch—perfect for gatherings!
-
Sweetener Boost: Drizzle a little agave syrup or maple syrup over the truffles after rolling to enhance their sweetness and add an extra layer of flavor.
-
Tropical Vibe: Mix in shredded pineapple before blending or roll the truffles in shredded coconut for a tropical treat that transports you to paradise in every bite.
-
Crunch Factor: Incorporate crispy brown rice or crushed pretzels into the mixture to give your truffles an unexpected crunch that contrasts with their fudgy texture.
Expert Tips for Chickpea Truffles
-
Perfectly Rinse Chickpeas: Ensure chickpeas are completely drained and rinsed to avoid excess moisture, which could lead to a soupy truffle mixture.
-
Quality Chocolate Matters: Use high-quality vegan dark chocolate for the best flavor. Brands like Hu Kitchen are recommended as they contain no added sugar.
-
Consistency is Key: Make sure to blend the mixture long enough until smooth and creamy; a food processor gives the best results. If using a blender, blend in small increments to avoid clumps.
-
Uniform Truffles: Use a cookie scoop to ensure all your Chickpea Truffles are the same size—this helps them to set evenly and look neat.
-
Have Fun with Toppings: Get creative with toppings to add texture and flavor. A mix of cacao nibs, shredded coconut, or even a sprinkle of sea salt can elevate your truffles!
-
Chocolate Coating Tips: Melt chocolate with a bit of coconut oil for an even coating. Heat in short increments to prevent burning; this way, the chocolate remains smooth and glossy.
Chickpea Truffles Recipe FAQs
How do I select the right chickpeas?
Absolutely! When selecting chickpeas, choose ones that are firm and without dark spots or blemishes. For this recipe, canned chickpeas are often best as they’re pre-cooked and ready to go—just make sure to drain and rinse them well to remove excess sodium and moisture. If using dried chickpeas, soak them overnight and cook until tender before using.
What is the best way to store Chickpea Truffles?
You’ll want to keep those delicious truffles fresh! Store them in an airtight container in the fridge for up to 7-10 days. This way, they’ll stay delicious and ready to enjoy. Just make sure they’re completely cooled and set before transferring them to avoid any sticking!
Can I freeze Chickpea Truffles? How?
Yes, you can definitely freeze them! After forming and coating your truffles, lay them in a single layer on a baking sheet and freeze for about 30 minutes. Once set, transfer them to a freezer-safe bag or container. They can be frozen for up to 60 days. When you’re ready to enjoy, simply take them out and enjoy straight from the freezer or allow them to thaw in the fridge for a few hours.
What should I do if my truffle mixture is too dry or crumbly?
Very! If your mixture seems too crumbly, try adding a small amount of nut butter or a splash of plant-based milk to bring it back together. Blend in short increments until you achieve a smooth consistency. If it’s too wet, provide an extra layer of melted chocolate for coating before freezing, allowing a perfectly balanced texture.
Are these truffles suitable for people with nut allergies?
Great question! If there are nut allergies, you can easily substitute the nut butters with sunflower seed butter or pumpkin seed butter. These alternatives provide a similar creamy texture without the nut allergy risks. Just check the chocolate ingredients to ensure they’re free from cross-contamination, too!
Can I adjust the sweetness of my Chickpea Truffles?
Certainly! For those who prefer a sweeter taste, consider adding a touch of maple syrup or agave nectar to the mixture before blending. Start with a tablespoon and adjust according to your preference while keeping in mind the sweetness of the chocolate you choose. It’s all about finding the right balance for your palate!
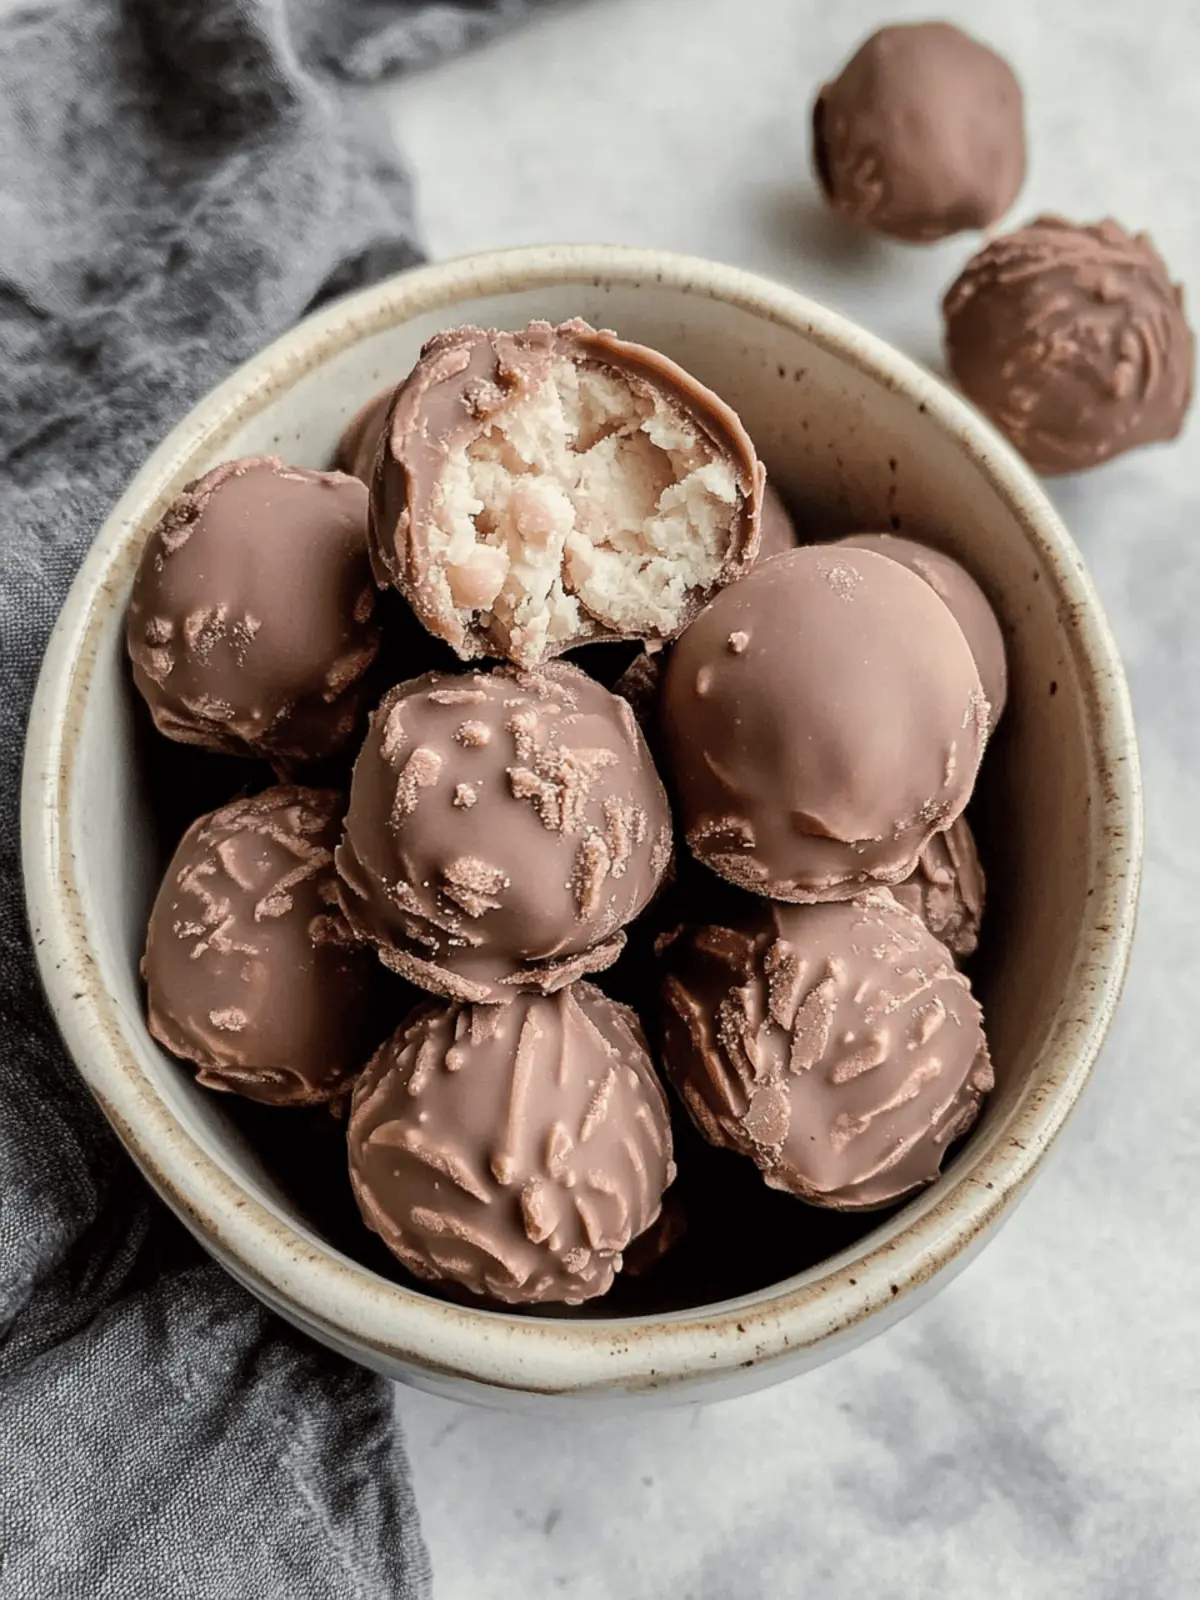
Decadent Chickpea Truffles – Guilt-Free Indulgence Awaits!
Ingredients
Equipment
Method
- Drain and rinse 1 can of chickpeas under cold water.
- Melt half of the dark chocolate chips (about ½ cup) until smooth.
- Blend the rinsed chickpeas, ½ cup of nut or seed butter, and the melted chocolate until creamy.
- Scoop out the mixture onto a parchment-lined baking sheet and freeze for 15-20 minutes.
- Roll each scoop into balls and dip in remaining melted dark chocolate.
- Freeze again for about 20-30 minutes until chocolate is set.
- Sprinkle toppings if desired before the final freeze.
- Store in an airtight container in the fridge for up to 7-10 days or freeze for up to 60 days.